


For whatever reason, the most obvious solutions are often the most elusive. It’s like when you’ve put your wallet right on the middle of the coffee table (and of course, it’s the ONLY thing on the coffee table) but you end up tossing around cushions and digging under the couch and checking the fridge (just in case) while trying to hunt it down, because “Where did I PUT that thing!?”
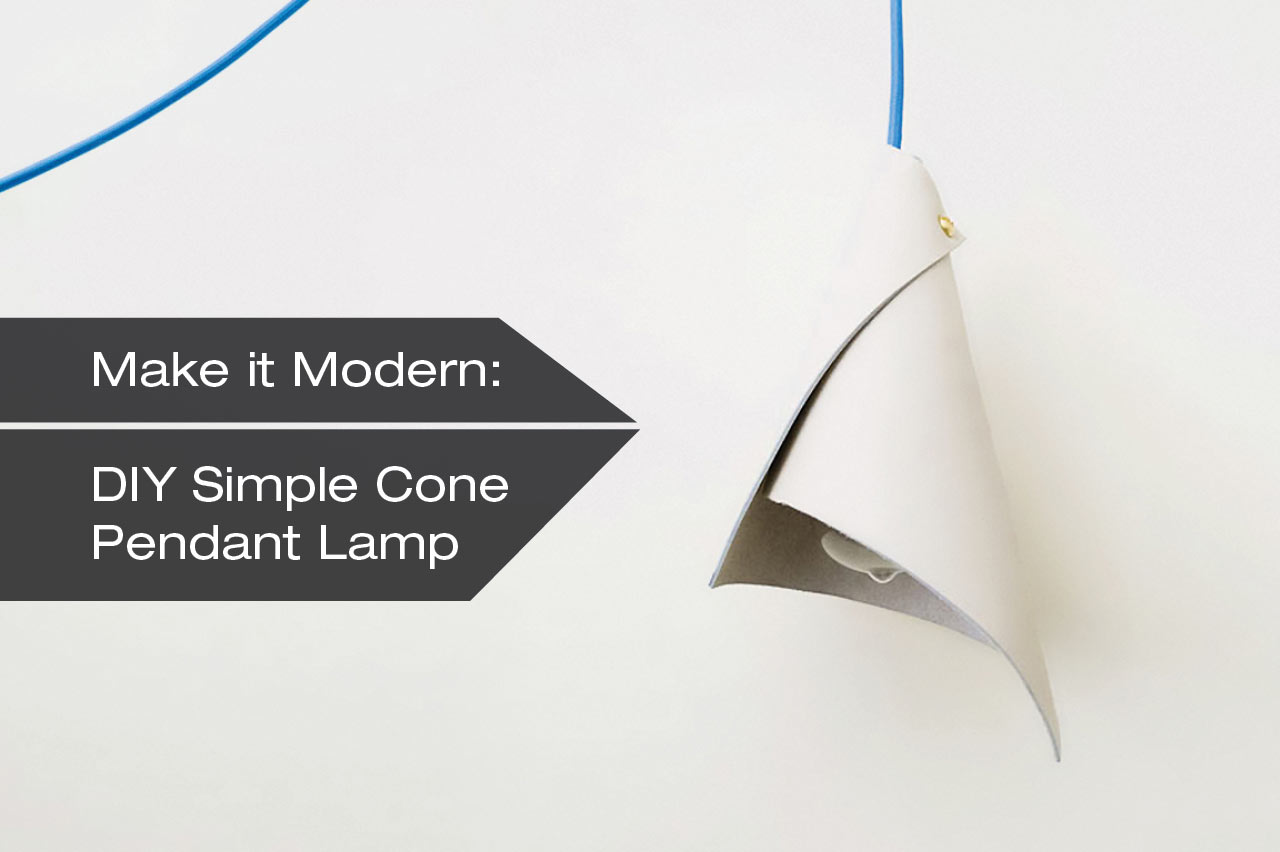
That’s kind of what it’s like to come up with a simple, overly-obvious DIY. We knew we wanted to do lighting, and I had a few ideas I was referencing for inspiration, but I couldn’t pin down the execution since we also wanted to keep it SUPER simple. No tools, no fuss, no time, no mess. I’m not sure what finally led to the “Eureka!” moment, but after WAY too much thinking, I picked up a sheet of paper, rolled it into a cone, and… blam. That was it. Pendant lamp.
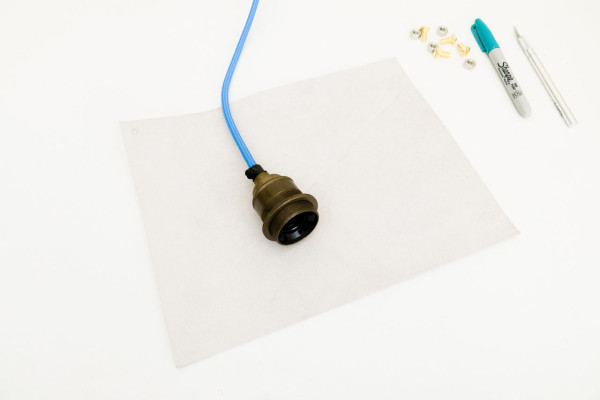
For each lamp, you’ll need:
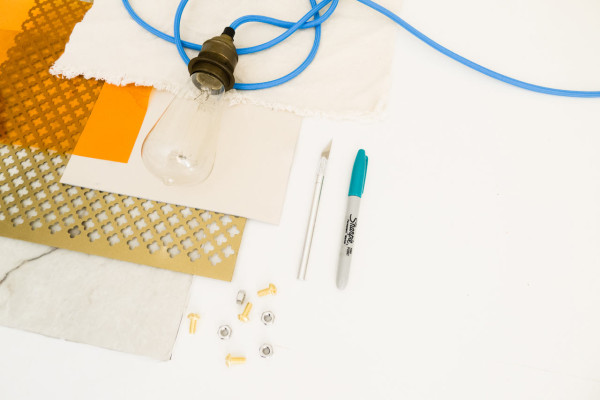
Supplies:
– a machine screw that’s about 1/4″ to 1/2″ long (I went with this beefier one, but you could go more subtle if you want)
– a hex nut that fits the machine screw
– marker
– craft knife
– tape (painters tape will do, but if your material is more resistant to bending, use a stronger tape.)
– any flat, flexible, and flame-retardant material — try metal mesh, some felts, leather, hardware cloth, certain types of papers, canvas, etc (see more on this in the instructions)
– cord set and bulb — I got this blue one from Urban Cottage Industries, but there are a number of options elsewhere, like Ikea, Anthropologie, West Elm, or Lowes.
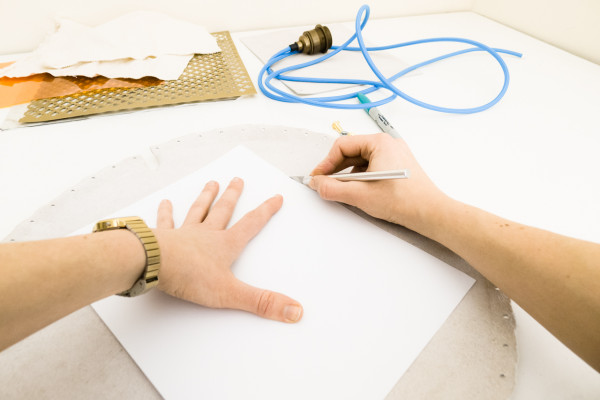
Step 1:
Cut your material to size.
I stuck with the standard 8.5″ x 11″ which made a really nice asymmetrical cone once I rolled it up. You can always test out some sizing with cardstock or paper first, though. If you want to go wider or larger, play around and see what works.
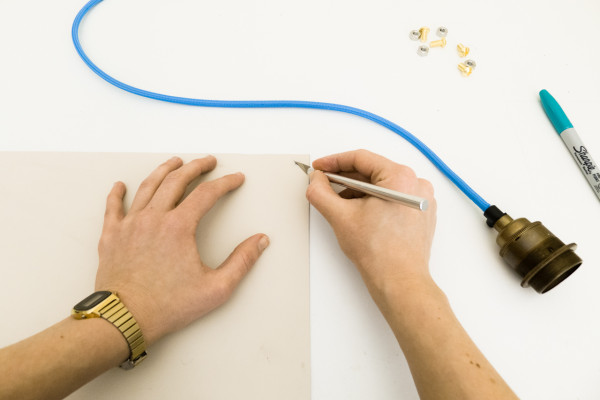
Step 2:
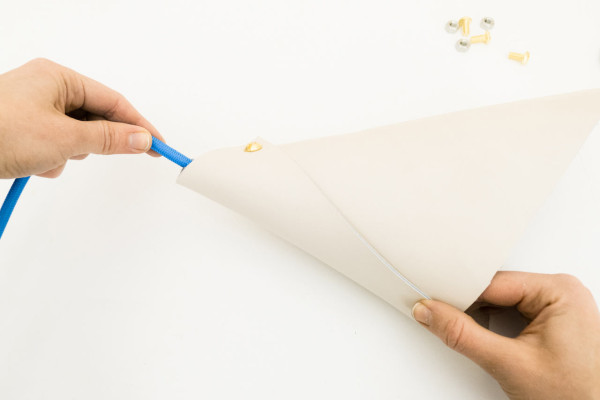
Once you have your cone figured out, lay your sheet flat and cut a small X where you want the screw to go. For this leather lamp, I put it right in the corner, about 1/4″ in from the edges and just large enough to fit the machine screw.
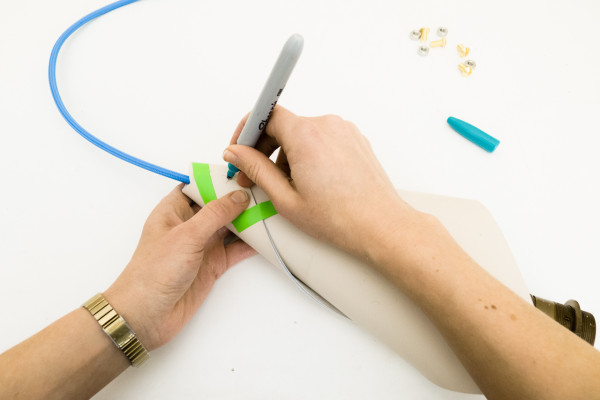
Then re-roll the cone to how you want it. Secure with tape once you get it just right, and use the marker to mark your next X on the material beneath.
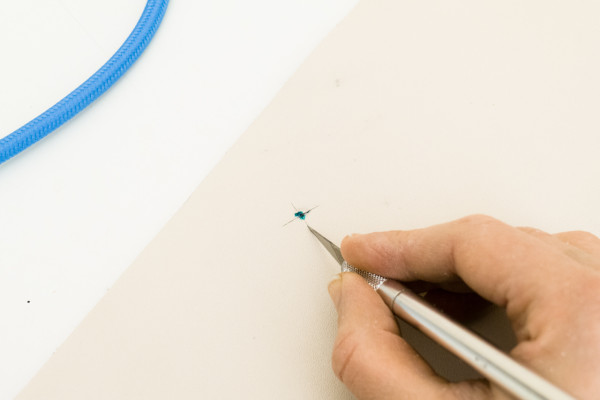
Step 3:
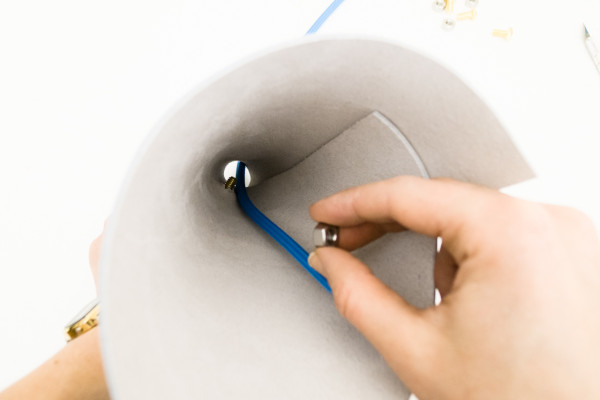
Unroll and cut the second X where you marked. Then roll up your cone again, this time around the cord set.

Push the machine screw through the first X, then line it up and push through the second X.
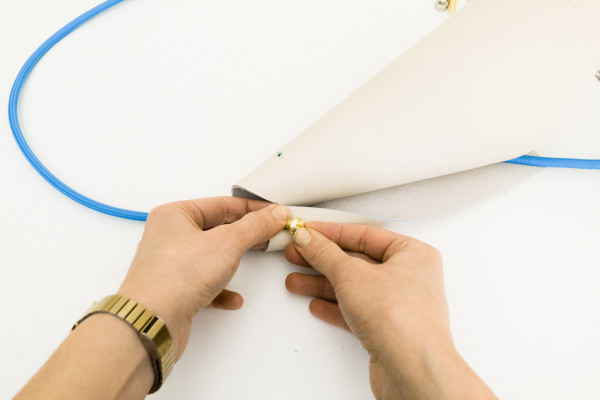
Step 4:
Pull the socket down and out of the way, reach in and screw the nut onto the screw, securing as best you can.
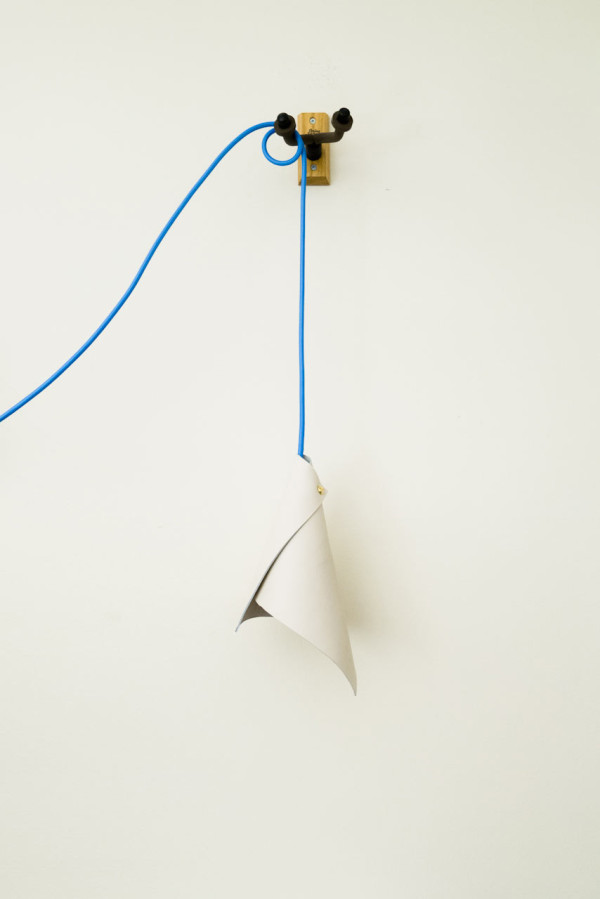
Pull the cord taut to the top of the cone, screw in a bulb (make sure it’s not resting on the cone) and hang!
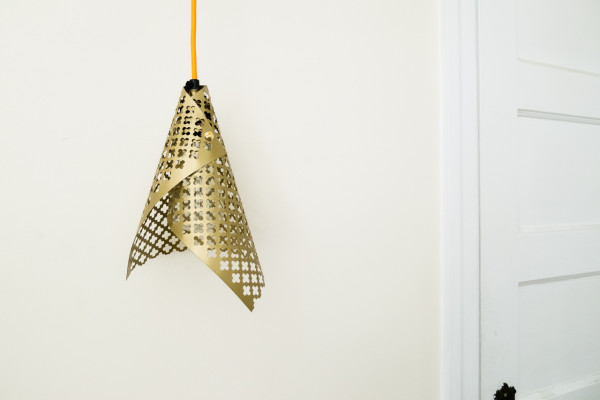
Since its such a versatile project, there’s a lot of room to play around and add your own touch. Try out different materials, sizes, bulbs, and hanging techniques. Different kinds of metal mesh and hardware cloth could yield a cool result. A super flexible wood veneer would look way more rustic. Marble contact paper over a PVC sheet would be a clean, classy and contemporary way to go. I made another one using this gold perforated sheeting that’s meant as a decorative cover for heating vents. Wicker, metal flashing, and 100% wool felt are other options.

I have this one set with an Edison bulb, but it’d look really cool with a mirrored vanity bulb.
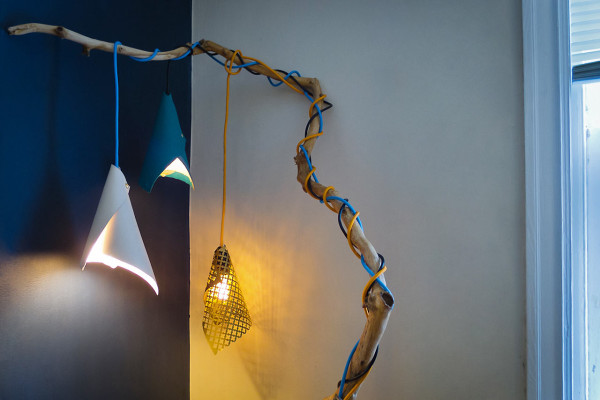
As for hanging, there’s always the standard swag hook on the ceiling, but with a cord set, try wrapping it around open shelving, slinging it over a mirror, or flip it around and screw the cone directly into the wall as a sconce.