We have two Deconstruction posts for you in February since we missed January. This is the second one. Read the first one: Marco Goffi’s Fusillo seating.
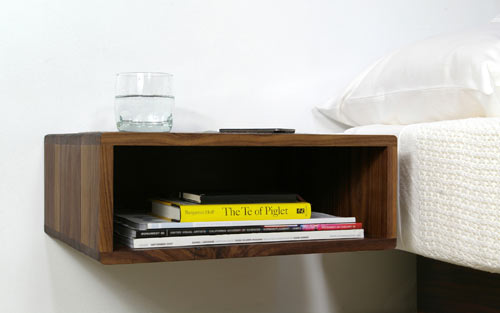
Darin Montgomery and Trey Jones are frequent collaborators for urbancase LLC, a Seattle based design firm. Their design philosophy is based on a desire to create well crafted objects that contribute to a simpler, pared back lifestyle focusing on basic aesthetic elements and functionality.

When we were asked to contribute a segment for Deconstruction, we considered several projects that are in the works and decided our side tables would be a good way to illustrate how we approach design. Although we’re developing products with a higher level of complexity and may be more difficult to resolve, the process is basically the same. Thank you for taking the time to check it out and feel free to contact us if you have any questions.
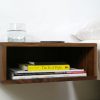
We started with the idea of designing a floating side table that could be installed at any height to accommodate various bed and sofa designs. In addition, we wanted a table that could be used in an entry or as a small jewelry/cosmetics table. The design criteria included restricted space, installation flexibility, economical use of material, durability, and of course, function.
As a general rule…we design from the inside out starting with a list of functions and possibilities. It was important to us that no cords run over the top, there be a material that won’t scratch as you’re fumbling with the clock or phone in the middle of the night, and you have a place to set a glass of water. We wanted several options as well. An interior shelf for a few books or magazines and for those who prefer to hide their porn…a drawer.
After figuring out the functionality, we put together quick sketches. Nothing complicated, just jot down a few ideas. Depending on the level of complexity we may follow up with a computer rendering to resolve as many technical issues as possible before moving on to the mock up stage.

Once we have a rough idea of the direction we’re headed, we quickly build a few mock ups to experiment with scale relationship and dimensions. At this point we’re trying to figure out what we react to in terms of general shape. In addition, seeing an idea three dimensionally gives us an opportunity to think about aesthetic and functional details and how they’ll affect the piece. We work out issues like cord management and accommodating a scratch free surface, etc. We want the top to remain flush, so we plan for a recessed area that will allow a soft material to be installed. We also figured out a revolutionary idea to hide cords…we call it a hole. A few more sketches…a little back and forth discussion…three two minute rounds in the ring…and we proceed.


The next step is to research material and hardware and work out the mounting system. We also start nailing down the exterior aesthetic and determine how it will influence the construction and material selection. We’ve decided to eventually have two models. One with curved edges and the other with mitered corners and a simple edge detail. Because of the details we eliminate plywood as a possibility and elect to use solid wood. We choose domestic walnut because it’s…well…very sexy.

We mill the lumber down to a thickness of 11/16″ to allow for final sanding. Watch as Trey the Wonder Boy exercises mind control over shop machinery.
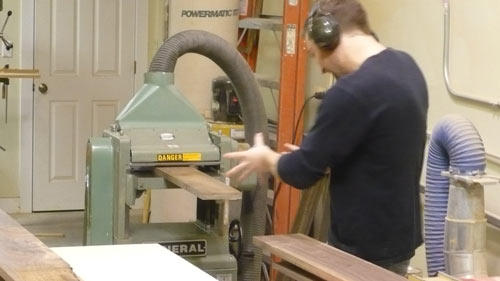
Material is glued up to appropriate width.

A few passes through the surface sander until we have our desired thickness.

Now we cut the recessed area in the top. Production models will be cut on a CNC machine, but the prototypes are done manually.

In order to accommodate the back panel and mounting system, we elect to use a stop rabbet. This allows installation of a concealed back panel and mounting cleat without revealing the nature of the connection.

Our mock ups established dimensions so cutting and glue up is relatively painless.

We add a small notch in the top to capture the cord end, build a drawer, final sand, apply hand rubbed oil/wax, install hardware, glue in the felt, hang on the wall, and photograph. And Bob’s your uncle. D-U-N…done.


