Little attractive details make all the difference when you’re trying to keep things organized. For instance, I’ve been thinking how great it would be to color-code my keys in a more distinctive way than your typical slide-on key covers offer. Having a few plain colors was nice, but I needed another way to show further distinctions among those colors (I have a shameful number of keys).
Then I remembered rubberizer! You should make sure you’re in a well-ventilated area if you’re using it, but it’s a ton of fun to play with. You’ll end up wanting to rubberize everything you own. Plasti Dip makes a Create Your Color Kit, so I decided to make my own tops using little wooden letters and toys.
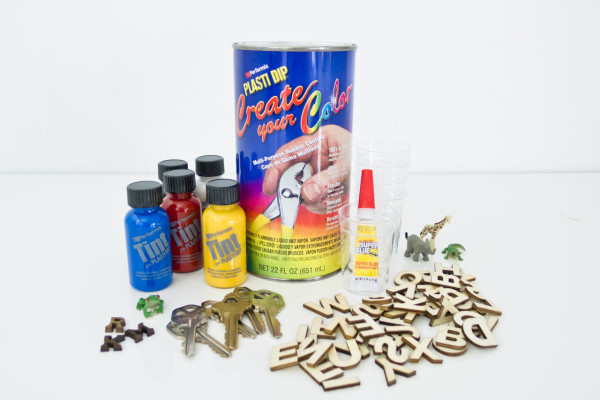
You’ll need:
Supplies:
– keys
– Performix Plasti Dip Create Your Color
– Super Glue
– miniature figures or letters (I found a good selection of these at AC Moore and my local Artist & Craftsman)
– glass mixing containers (a note on that below)
– a pack of toothpicks, coffee stirrers, or small paint brushes
– a craft knife
An anecdote on storage: If you’re mixing colors in plastic instead of glass or metal, don’t let them sit overnight. I left my project out to finish the final coat the next morning, and when I came back, all of the plastic cups I’d mixed in had dissolved the cups into gooey blobs.
Fortunately nothing was damaged, and the cups held up fine while working on the project, but I obviously wasn’t able to do much with them the next day. According to Maynard G the Mix Master, a resealable glass container will work just fine.
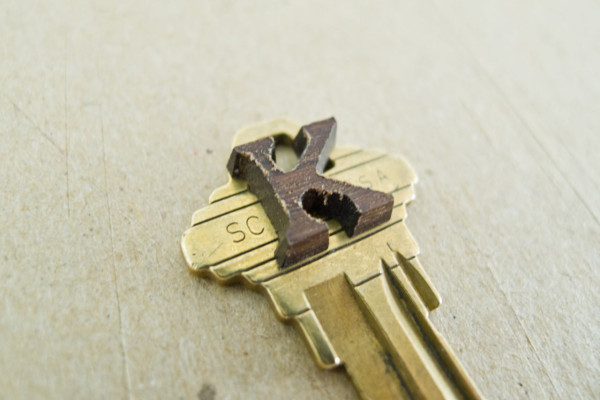
Step 1: Figure out how you want your miniatures set on the key, and glue them on. Be careful and quick when you’re placing them – the glue dries fast and strong, so you won’t get too much of a chance to reposition anything. When considering placement, make sure you leave space for a key hole if you intend to use a key ring.
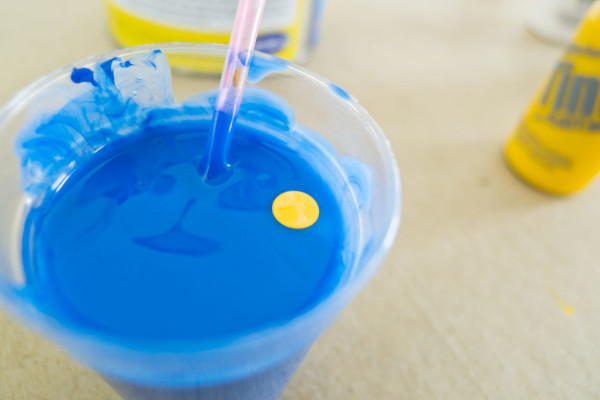
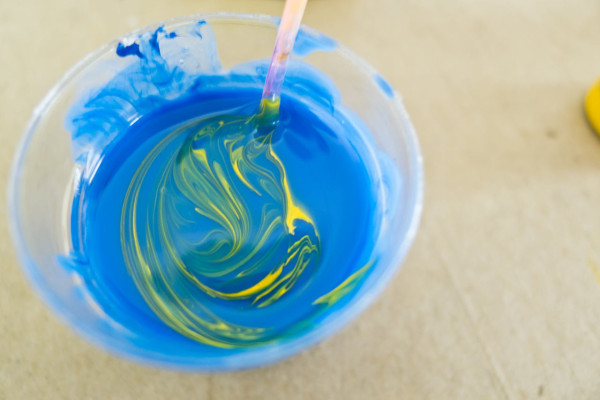
Step 2: Mix your colors – the tints are VERY heavily pigmented, so a little goes a long way. Keep in mind that less is more, and only mix a drop or two at a time. For example, I made a pretty aqua using about 2 drops of blue, 1 drop of yellow (pictured), and a drop of white. You really don’t need much. Start small and add slowly as you need.
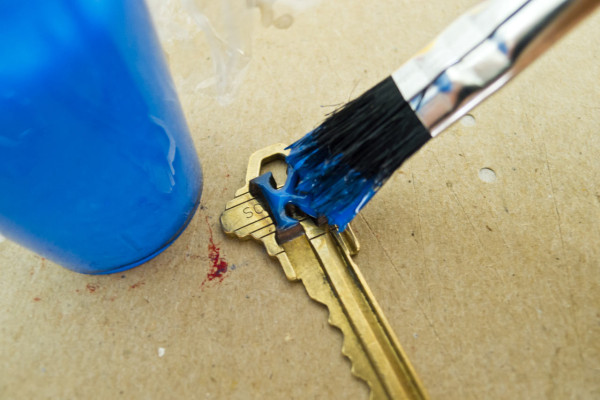
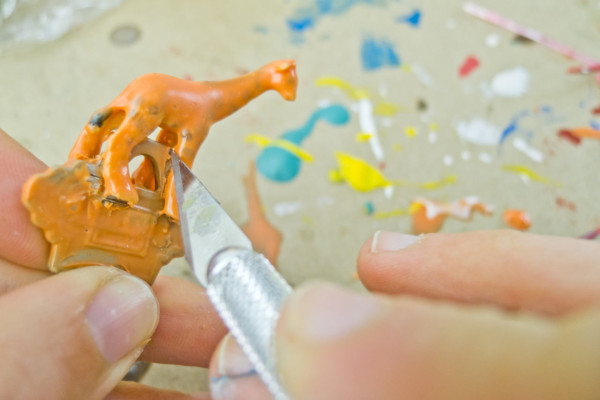
Step 3: Here’s where the Plasti “Dip” was a little misleading. Since you’re using miniatures, you don’t actually want to dip the keys. Rubberizer is really goopy and fills in holes, so if you dip, you could end up with little blobs instead of figures or letters. Instead, use a brush or – what I ended up using – a toothpick to carefully apply the colors. If you apply too much or it hides detail around the edges, you can use a craft knife to trace around your miniature for more detail before you put on a second or third coat. It’ll look a little weird at first, but just pull off any little nubs you don’t want and it’ll work itself out after a couple more coats.
Step 4: Let the Plasti Dip dry for at least 24 hours before using, and you’re set!
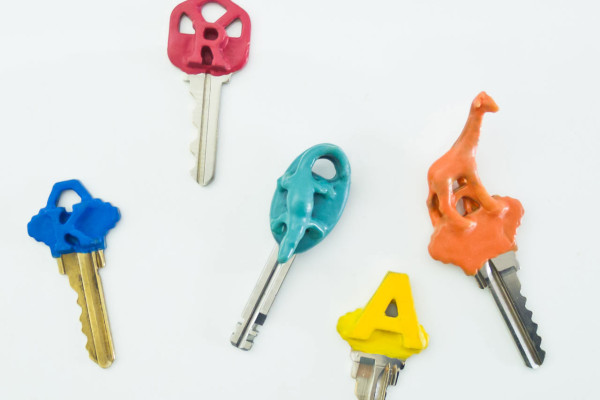
The little alligator on my bike key is probably my favorite of the bunch – I like how his tail wrapped around the key loop!
Attaching a much larger item would make a really useful “bathroom key” to offer customers at a coffee shop or similar place of business. And if you want to go super-custom, you can always make your own shapes and tops out of Sculpey and then dip away!
