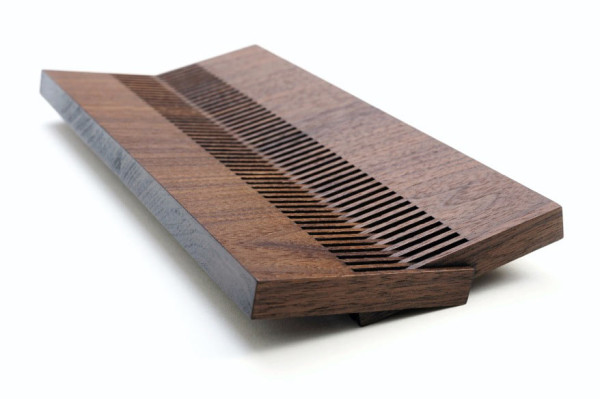
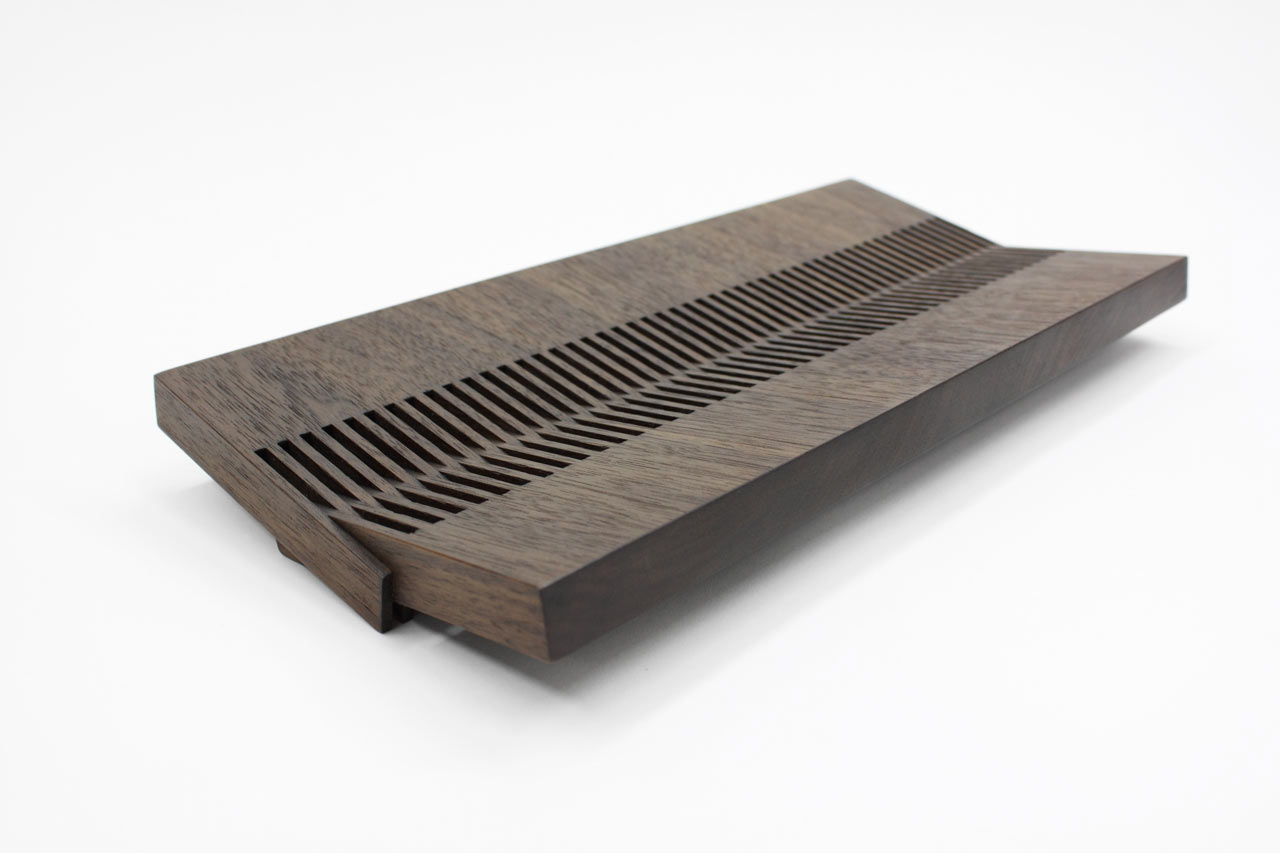


Founder of MAY Furniture Co., Travis James is a designer, craftsman, and multidisciplinary artist and is the mind behind the Riviera Tray, which is sold through DESU DESIGN. At first glance, you notice the wooden valet tray’s slight V-shape, waiting to hold your keys, smartphone, or anything else you’ve accumulated in your pocket. Then it’s easy to appreciate its minimalist form with elongated finger joints being used as a clever connection detail. Sometimes, like in this case, the best designs are the most subtle ones handcrafted from wood. Now, James takes us through the process of how the Riviera Tray was made, in this month’s Deconstruction.
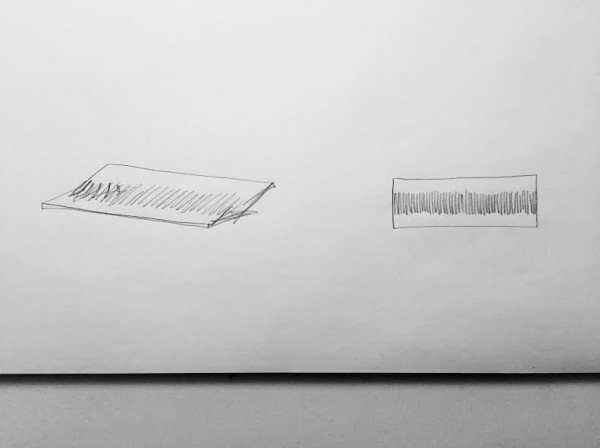
Sketch of the Riviera Tray. Many times I don’t do sketching, including this time. Many pieces come together from playing with parts, shapes, etc.
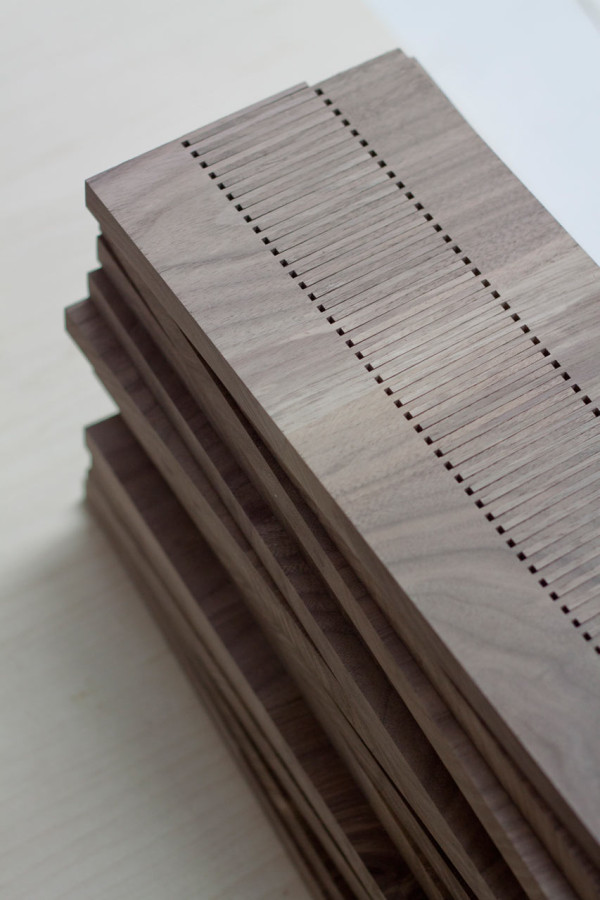
The Riviera Tray came together while playing with what is traditionally used as a strong solid wood joint, called a Finger Joint. Typically finger joints are short and used only as joints. We extended the finger lengths and began exploring them as an aesthetic feature. We made some sample parts once and moved them around, joined different ones together and found the subtle angle of the Riviera Tray as a beautifully minimal way of making a tray out of one piece of solid wood.
Once it was together I looked at it and felt like it was some vintage tray from my Grandparents post-war era of the 50s, perhaps taking an exotic holiday in the French Riviera, full of shiny chrome convertibles, round flip-up sunglasses, and floral shirts.
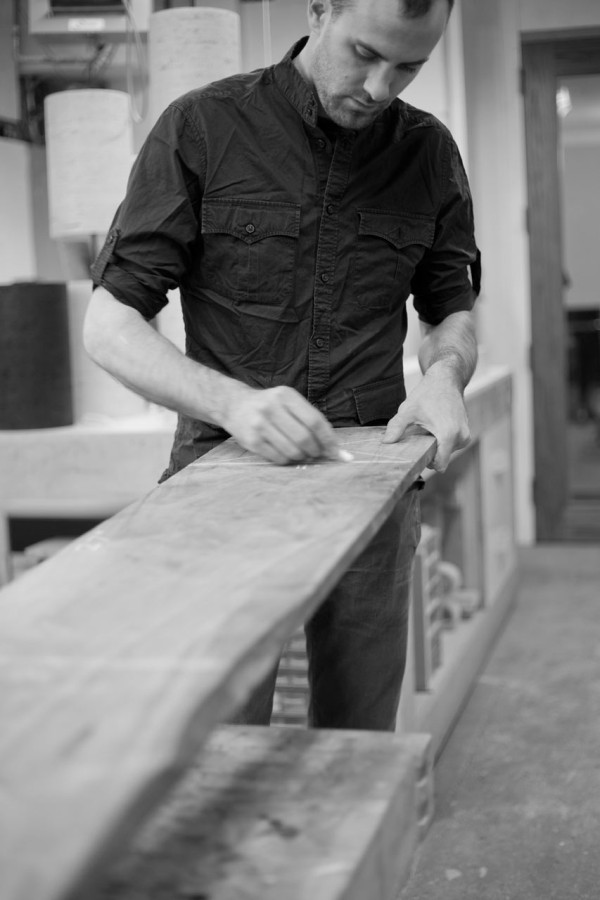
The Riviera is all about the beauty of the wood. First step is to examine the wood and get an idea of what good material I have in the board, cutting out checks and knots.

The chalk outlines serve as temporary markings.
Solid Walnut is milled and cut to size of each side of tray.

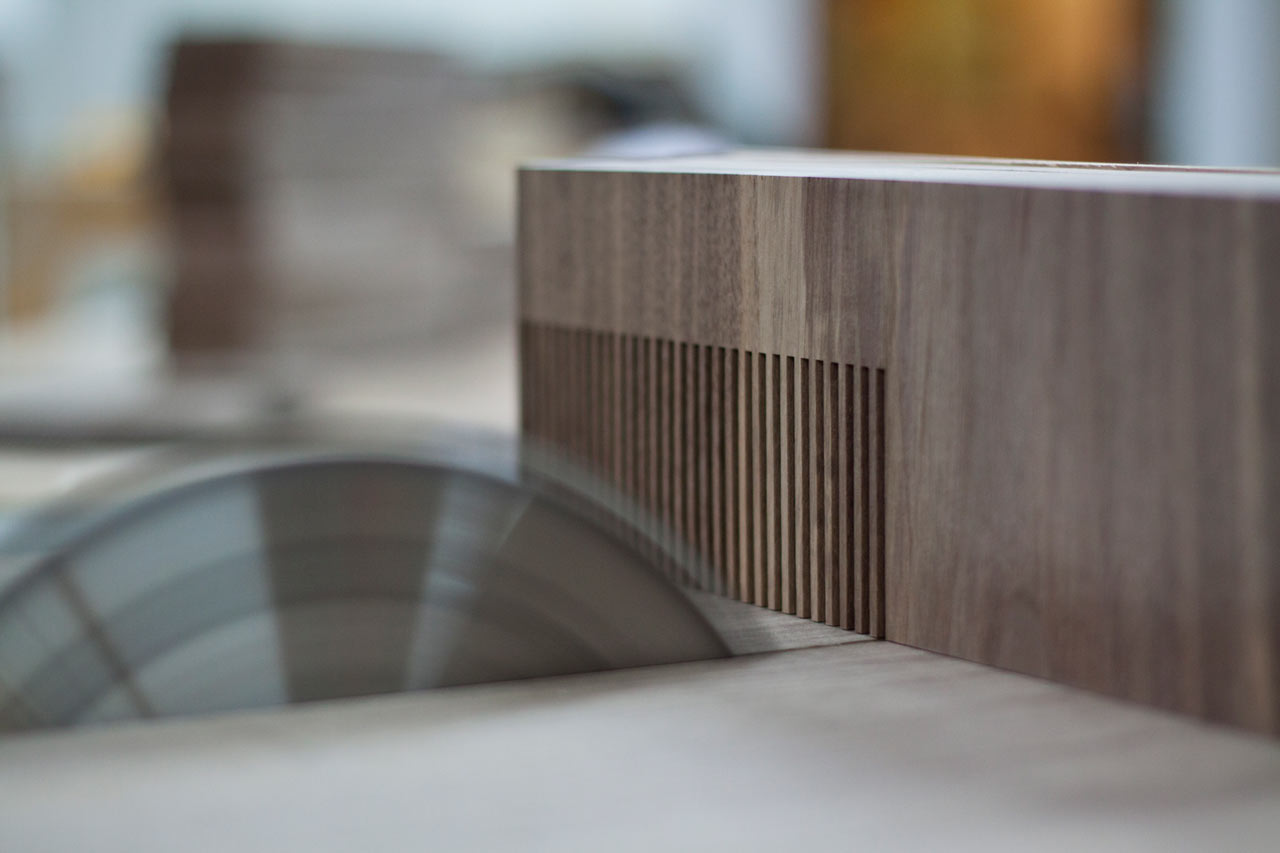
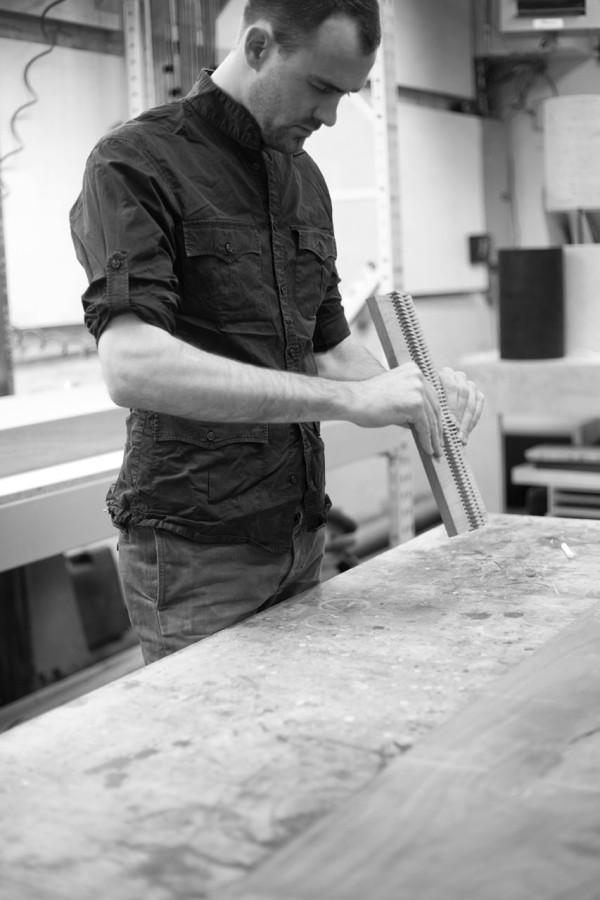
We load the blanks into a custom made jig for the table saw that cuts precise negatives/positives along the wood.
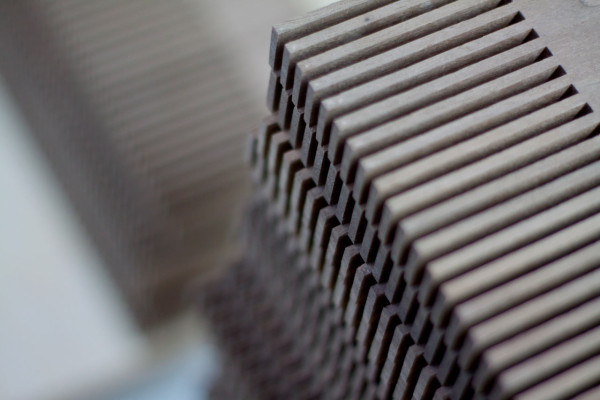
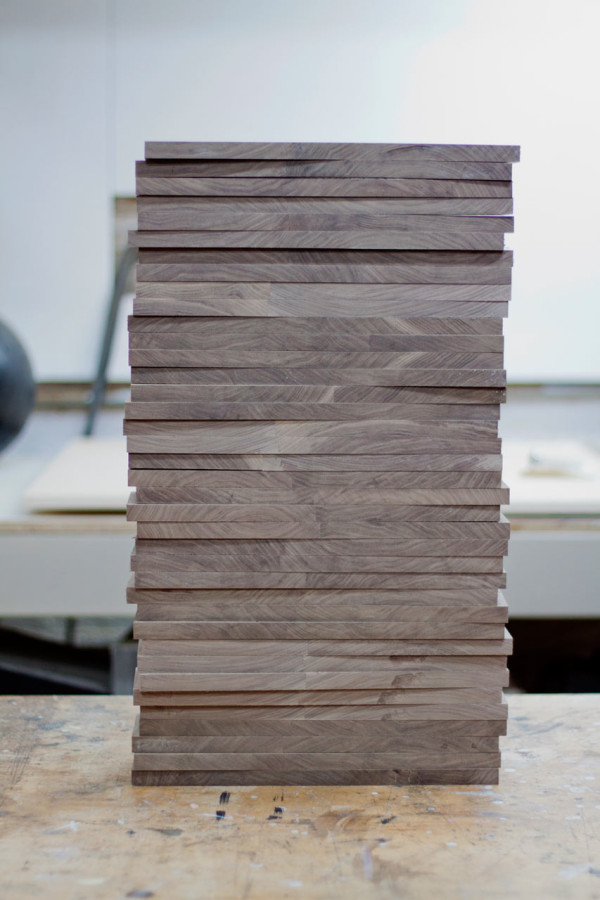
A stack of sides with the cuts.
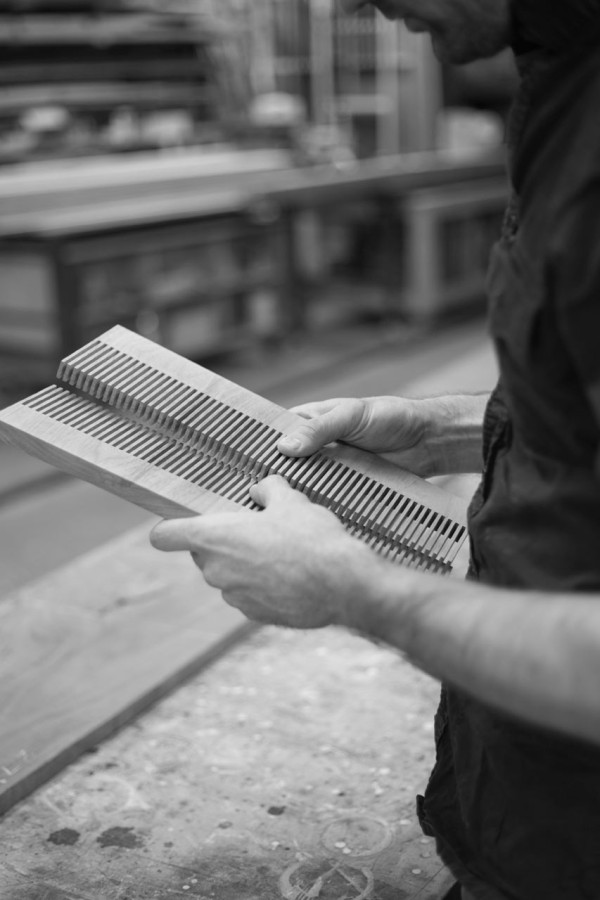
Organize cut sides to another with a good match, then pre-sand the trays as a flat piece.
A thin layer of glue is applied inside the finger joint before fitting the sides together.
I set the angles just by sight. I’ve done so many it’s just a muscle memory thing now.
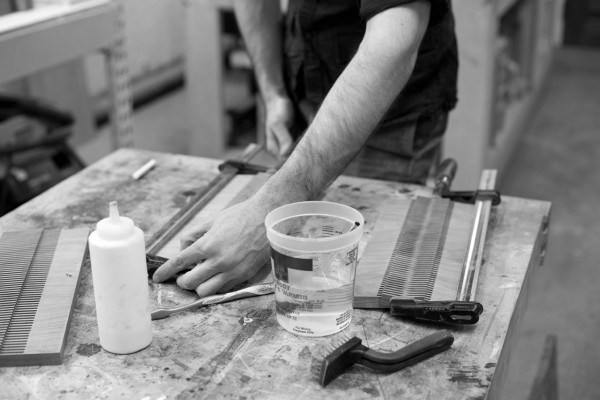
After the angle is set, the Riviera Tray is clamped to dry.
Assembly animation
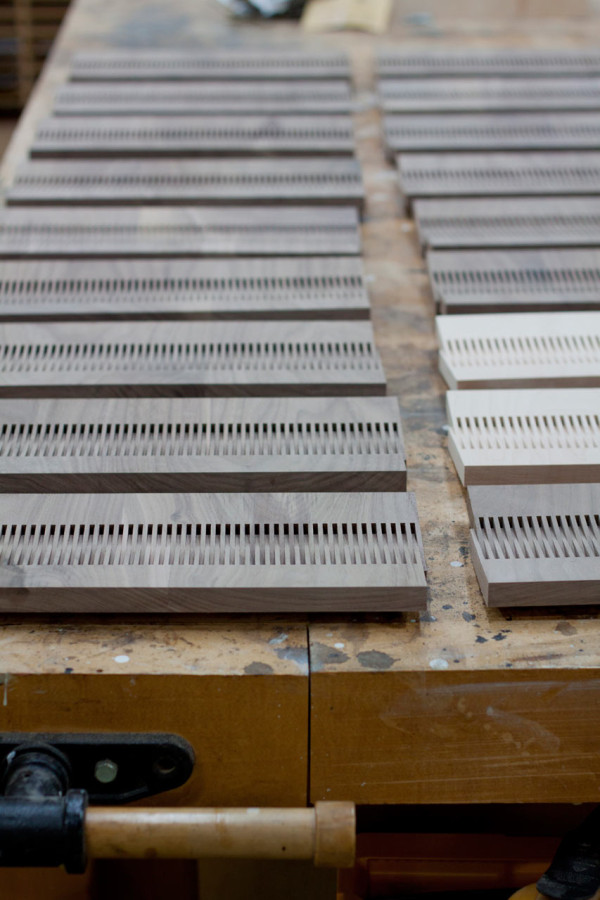
Glued up Riviera Trays awaiting finishing.

The finished Riviera Tray in Oiled walnut.