


We write a lot about furniture and home decor designers’ processes but we don’t often cover graphic design, even though we know a lot of you are graphic designers, artists and illustrators. We hope that you’ve noticed that we’ve started adding more art and graphic design content to the site and are excited to share with you a fun 3-part series where we follow artist Brian Yap along as he revisits a classic design with his own signature style, using some high-tech tools along the way.

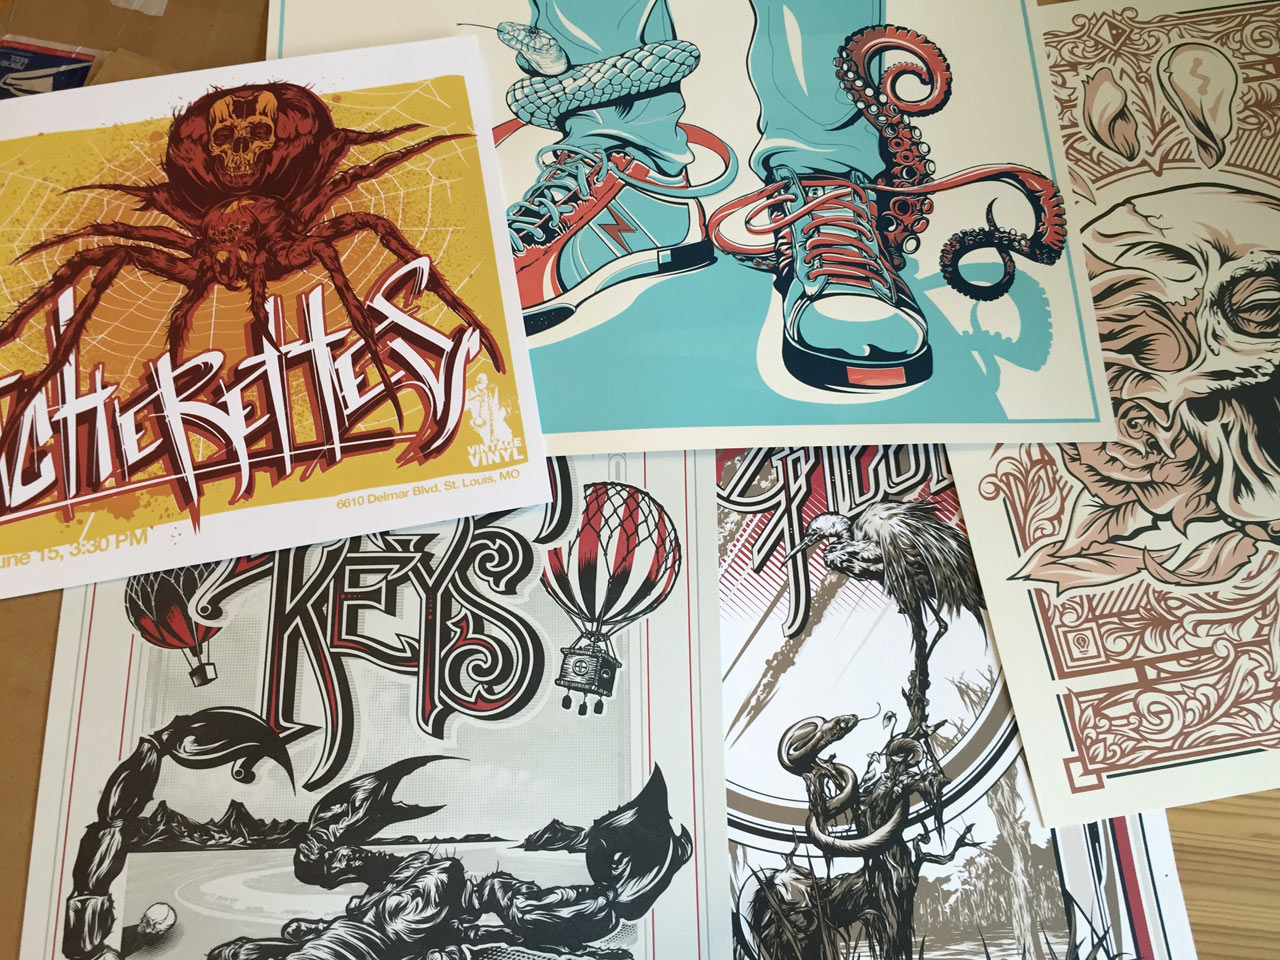
A self-proclaimed “navy brat and chronic doodler”, San Francisco-bay area illustrator Brian Yap has worked as everything from a toy designer to airbrush t-shirt artist to agency creative director, always with the secret plan of integrating illustration in as many projects as possible. He’s worked with brands like NVIDIA, Woodford Reserve Bourbon, Adobe, Fader magazine and has created music posters for tons of bands from the Black Keys to Chuck Berry. For the past few years, he has worked on the iPad to create his highly detailed illustrations, often speaking to design groups about what’s possible with digital and mobile tools. Outside of drawing he pretends to play the ukulele, ear reads books and is enjoying the bay area weather as a recent midwest transplant.

Brian primarily uses the Adobe Photoshop Sketch and Adobe Illustrator Draw on an iPad in his process, and he’s agreed to demonstrate how he worked previously, how he starts a project now, and the tools and tips that help him create classic style illustrations in a whole new way. In the final article, you’ll be able to see the finished piece and download assets from his Creative Cloud Library to follow along. Here’s Brian:
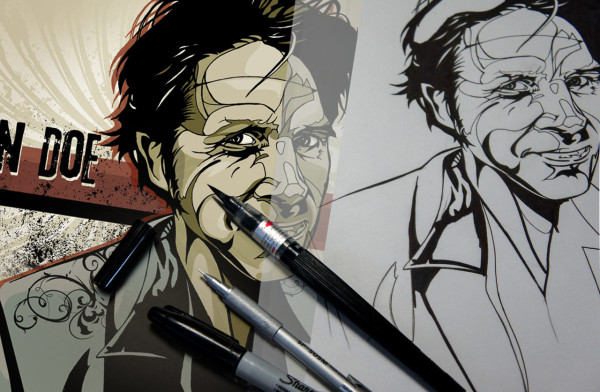
After years of playing with different styles and techniques, and especially after working with some incredible comic book style artists, I narrowed my style to pen and ink on tracing paper. I’d then scan the drawing, and use image tracing in Adobe Illustrator CC so that I could play with color.


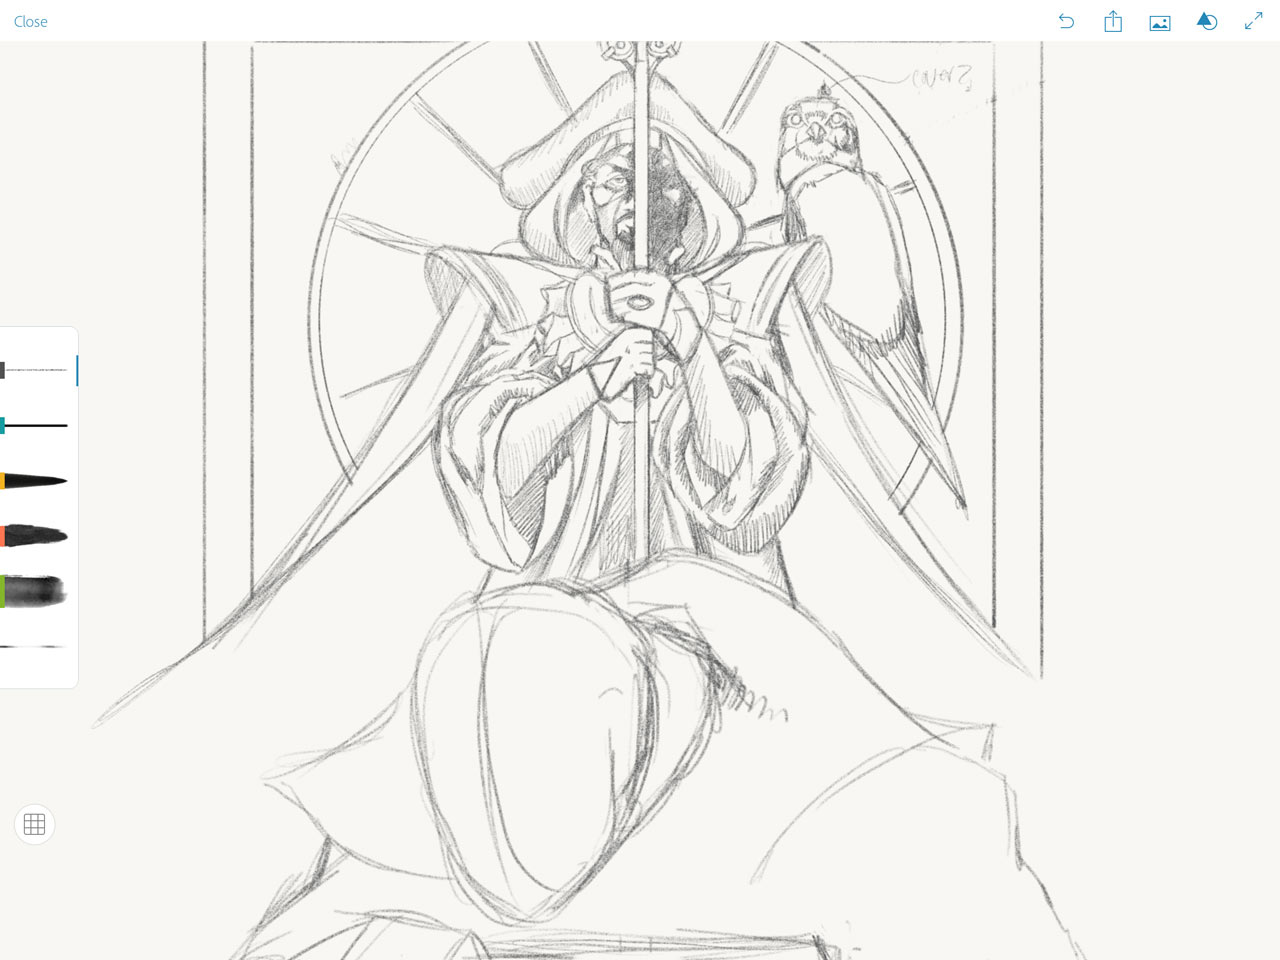
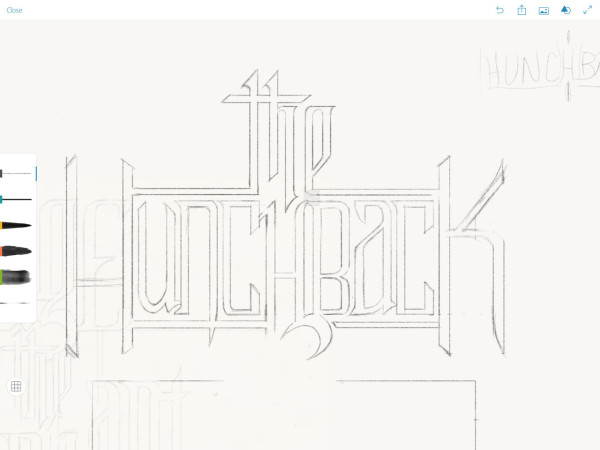
These days, I do a ton of sketching in the Photoshop Sketch app on my iPad. It’s amazing how many more ideas I can try out simply on my commute to work, or sitting on the couch. It’s kind of like having a mobile light table with you, so I obsessively redraw over early sketches and develop detailed aspects of the final piece. I’m currently working on a book cover design for the Hunchback of Notre Dame by Victor Hugo for a crowdsourcing project called Rock, Paper, Books. It’s inspiring as hell to be working in a group of such talented people. It will be similar to the first book cover I did for Mysterious Island:

My illustration style is a mixture of a bunch of influences: comic books— especially early horror stuff like Bernie Wrightson—sci-fi paperbacks, equal parts punk flyers and classic pen and ink Illustrators like Harry Clarke and Aubrey Beardsley, graffiti and old vintage advertising engravings. It’s a strange mixture, but I feel like there’s a whole school of illustrators finding their own voice from the same set of influences. The way I approached working digitally came directly from those techniques, too. I always look at what I am doing as creating the same line-work I would if I was using a fat tip marker or a thin technical ink pen.
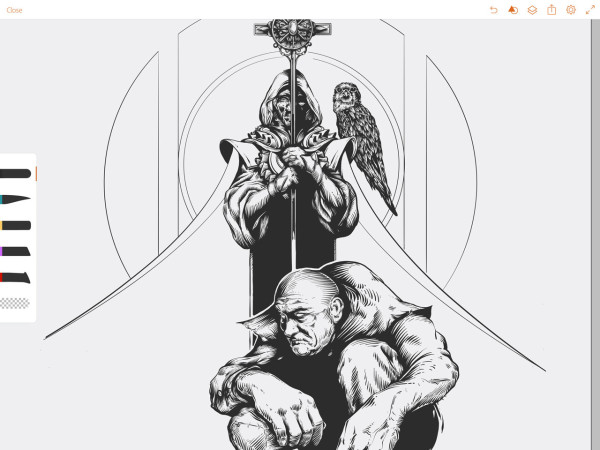
For this piece, and for Mysterious Island, I wanted to lean more towards the old book covers and vintage advertising. I have been doing type treatments like this for music posters recently but here, I wanted it to be very classic looking. In the Mysterious Island cover, the main character to me was the island, but here it seemed the driving focus was the relationship between the hunchback and Claude Frolo. So, I focused on a composition with those two characters.

Photoshop Sketch is pretty intuitive drawing app. I use the pencil tool to sketch with, shifting the darkness of the color and opacity to mimic natural drawing.

The new Apple Pencil is also integrated in a way that feels very natural and you can access the onscreen touch slide ruler through the shape button on top menu. Recent updates added features including a watercolor brushes, and mean that I can start to explore color and lights and darks in my sketch.
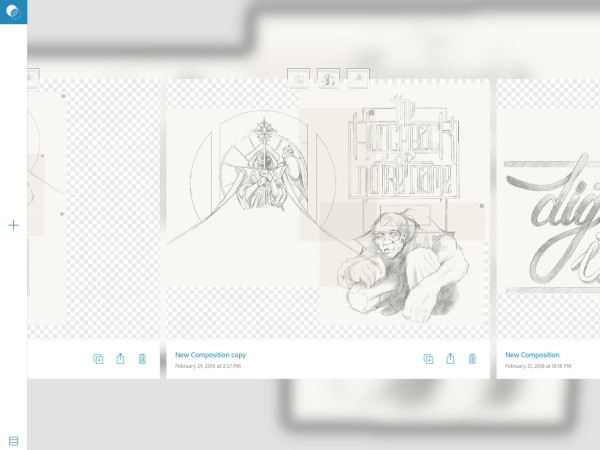
Once I get the sketch where almost everything is figured out, I save the image to my Creative Cloud account and then try different compositions using Adobe Photoshop Mix, a process I learned in school with project critiques. Sometimes you can get so focused on the original idea that you need to step back and see how things are working as a whole.
Once I have a plan for the final composition, I switch over to Illustrator Draw, which is a vector drawing app that’s like using the blob brush in Adobe Illustrator CC, but built for mobile. It’s really easy to use. I’ve barely touched on the different techniques you can create with it—I love the limitlessness when working with vector art.
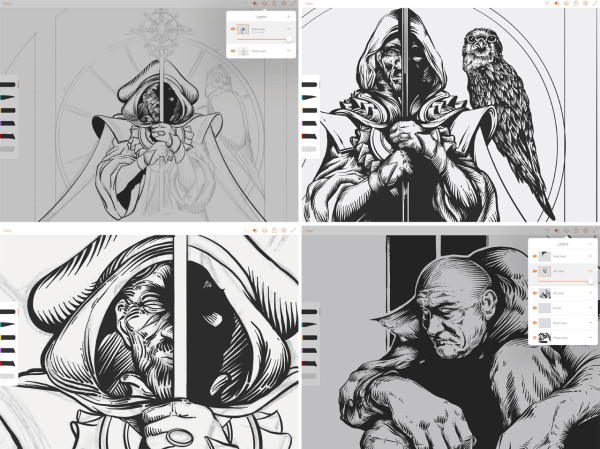
You can place the sketch image on the bottom layer and add up to 9 more drawing layers above it. Note that I tend to work backwards, drawing the darkest outline part of the drawing first, then add colors in subsequent layers below.
There’s a similarity here to how I worked previously. I used to rely on a light table to sketch over earlier sketches, and then again to fine tune the final pencil sketch that I would eventually ink. Even if I was going to paint on top of that, I liked to have a strong and very finished drawing to work over. But, when I started working the final illustration in Illustrator CC, I found it easier to me to add color using layers, especially going from dark to light.
For these book covers, I wanted to give the illustration a bit of an engraving/etching feel. So I used the round end brush set in a low size and as I draw, I use the highly-tuned pressure sensitivity of the stylus to create thicker areas. It was a little tricky to figure out at first, but once I practiced the technique a little bit, it became second nature.
In the next post, I’ll integrate some off-beat techniques using Adobe Capture CC to add patterns and some geometric elements to the illustration, and then show how the whole thing comes together in the final article on the desktop in Illustrator. Stay tuned!
Thanks, Brian! See the Adobe Apps for iOs and Android that Adobe offers.