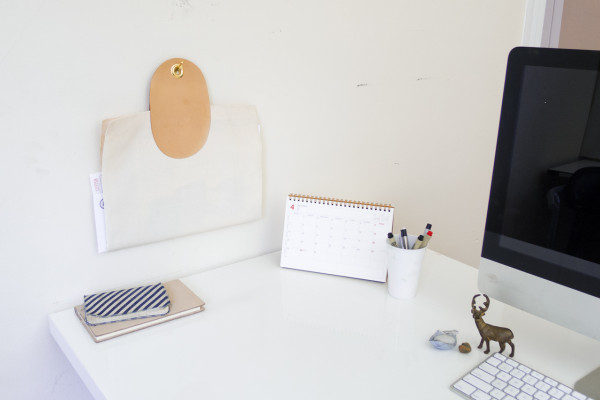


In this house, things tend to pile up quickly. Specifically, on my desk – I’ll spare you the “before” picture. Now that Spring is in swing, the windows are open and the clutter is out. To keep it that way, I decided to pull together a quick, no-sew project that takes 10 minutes after a brief (but always inspiring) trip to the fabric store.
One of the hurdles I run into when managing my physical inbox is that when I pull something out, it stays out. I decided to bad-habit-proof this project a bit and make the pocket “portable,” so when I’m finished or if I have to step away, everything gets scooped back up into the pocket and goes right back on the wall. Clean desk, happy desk.
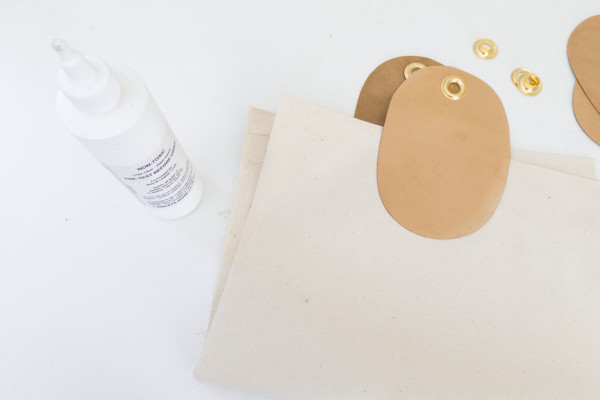
For each pocket, you’ll need:
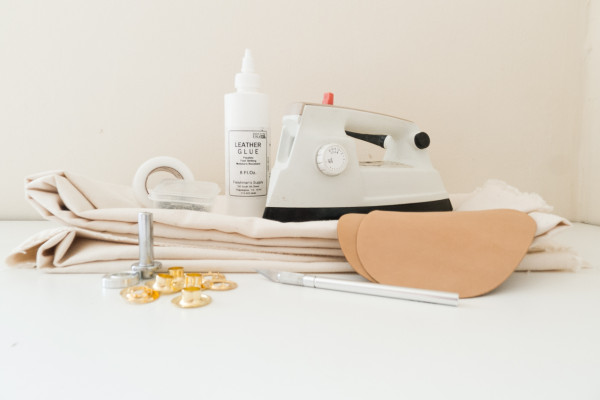
Supplies:
– canvas (enough to cut a 22″ x 12″ rectangle)
– leather elbow patches
– grommet kit with anvil
– 5/8″ fusible bonding web
– an iron
– leather glue
– sewing pins (somewhat optional)
– craft knife
Step 1:
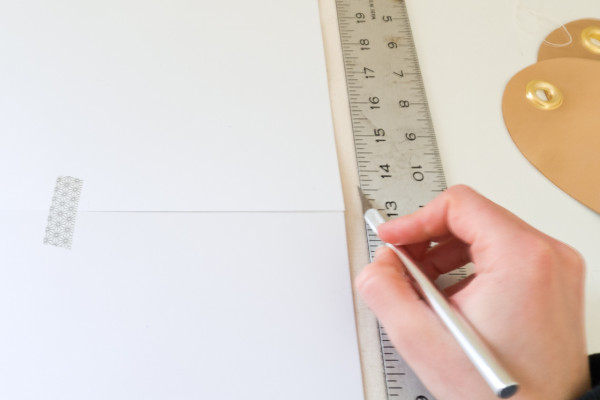
Lay out your canvas and, with a very sharp craft knife, cut a 12″ x 21″ rectangle. Using a sharp knife is important here to keep fraying to a minimum (while still maintaining that natural canvas look).
Tear a 13″ long strip of fusing tape, lay it along the short edge of the canvas, fold over the canvas (about 1/2″), and follow the instructions on the fusing tape packet. (The instructions for this one said to press an iron to each side for 10 seconds while covered by a damp cloth).
Pinning things in place before you sew will help, but it’s not entirely necessary. The fusing tape adds a little extra reinforcement to the edge, but for extra support you can add some length to the canvas and repeat this step by folding over twice.
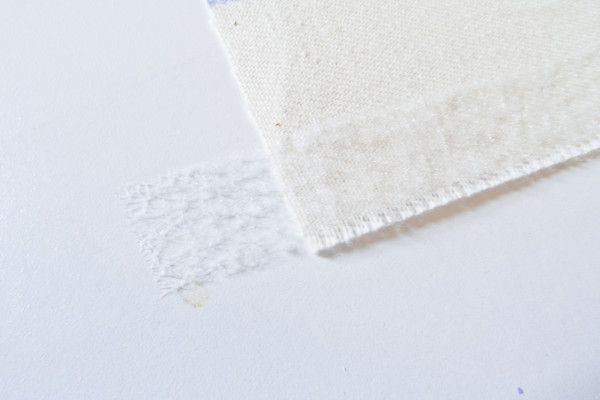
To “hem” the long edges and prevent fraying, draw a bead of fabric glue along the edges of the inside of the pocket, and brush into the canvas.

Allow everything to dry to touch, and iron flat if needed.
Step 2:
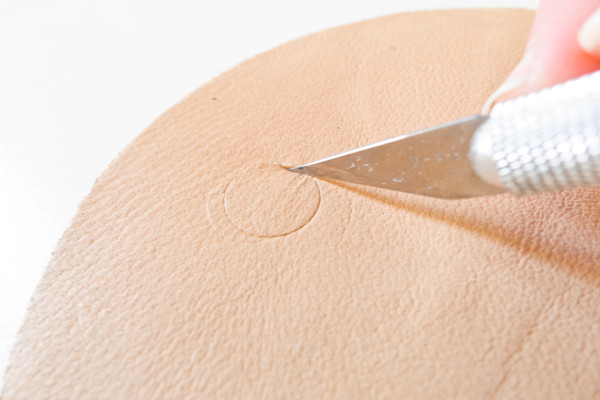
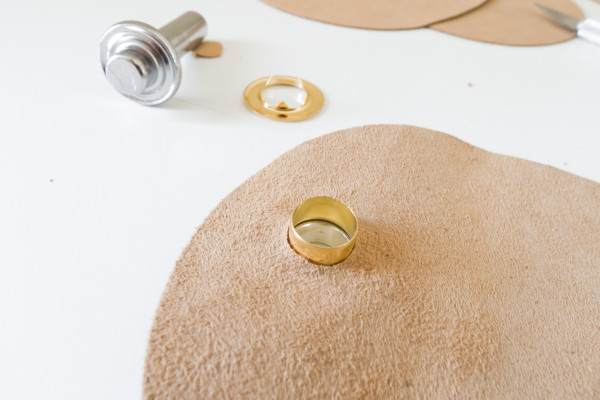
Create a guide by pressing the grommet barrel into the leather. Then cut out the hole that’s been marked.
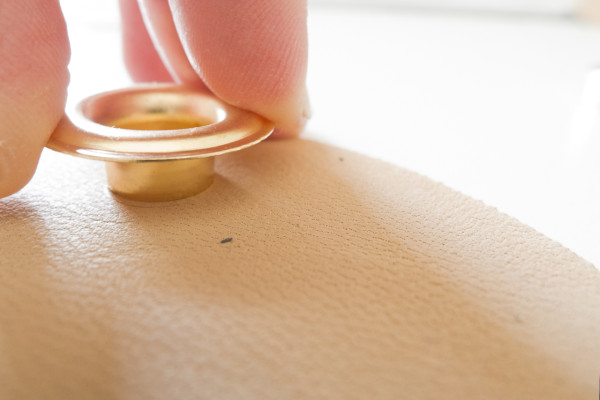
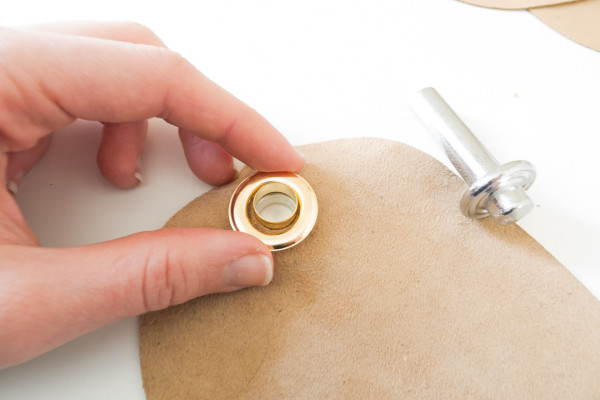
Insert the grommet barrel through the hole from the outside of the pocket to the inside. Following the instructions on the grommet kit, place the anvil on a very hard surface, like concrete, and position the grommet on the anvil.
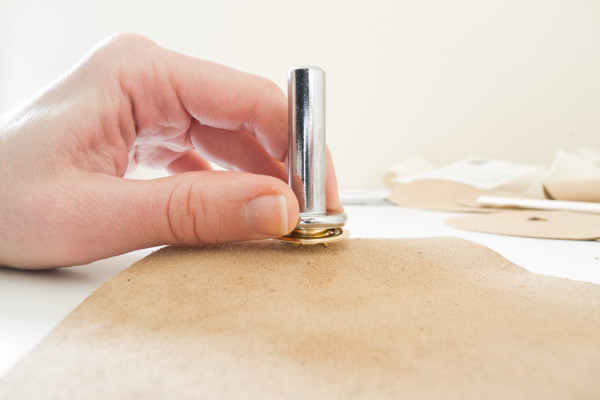
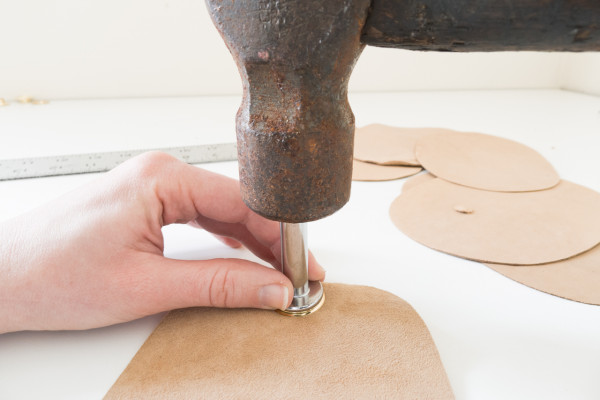
Place the washer over the barrel, teeth-side down. Position the setter into the barrel of the eyelet, and – the fun part – whack.
Step 3:
Brush the bottom half of the handle with fabric glue, almost out to the edge.
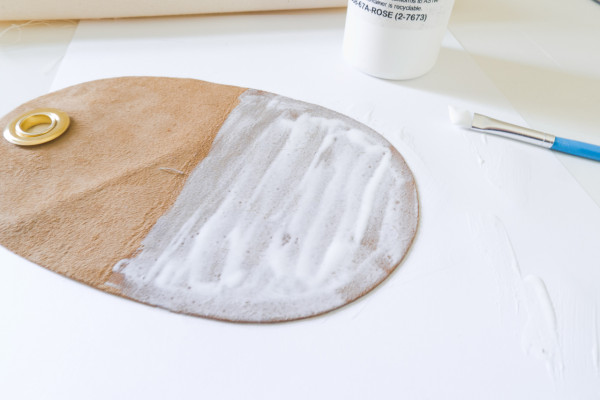
Find the center of the short side of the canvas, align, and smooth onto the leather handle.
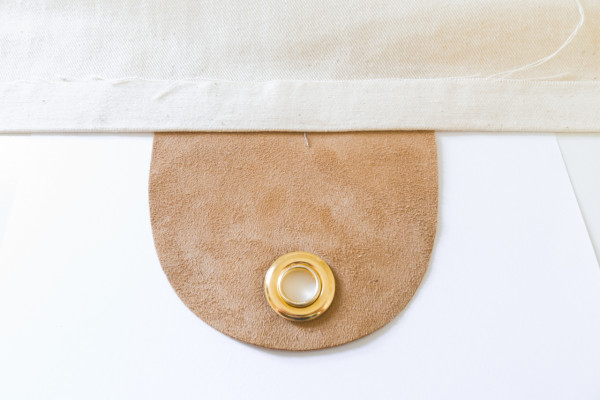
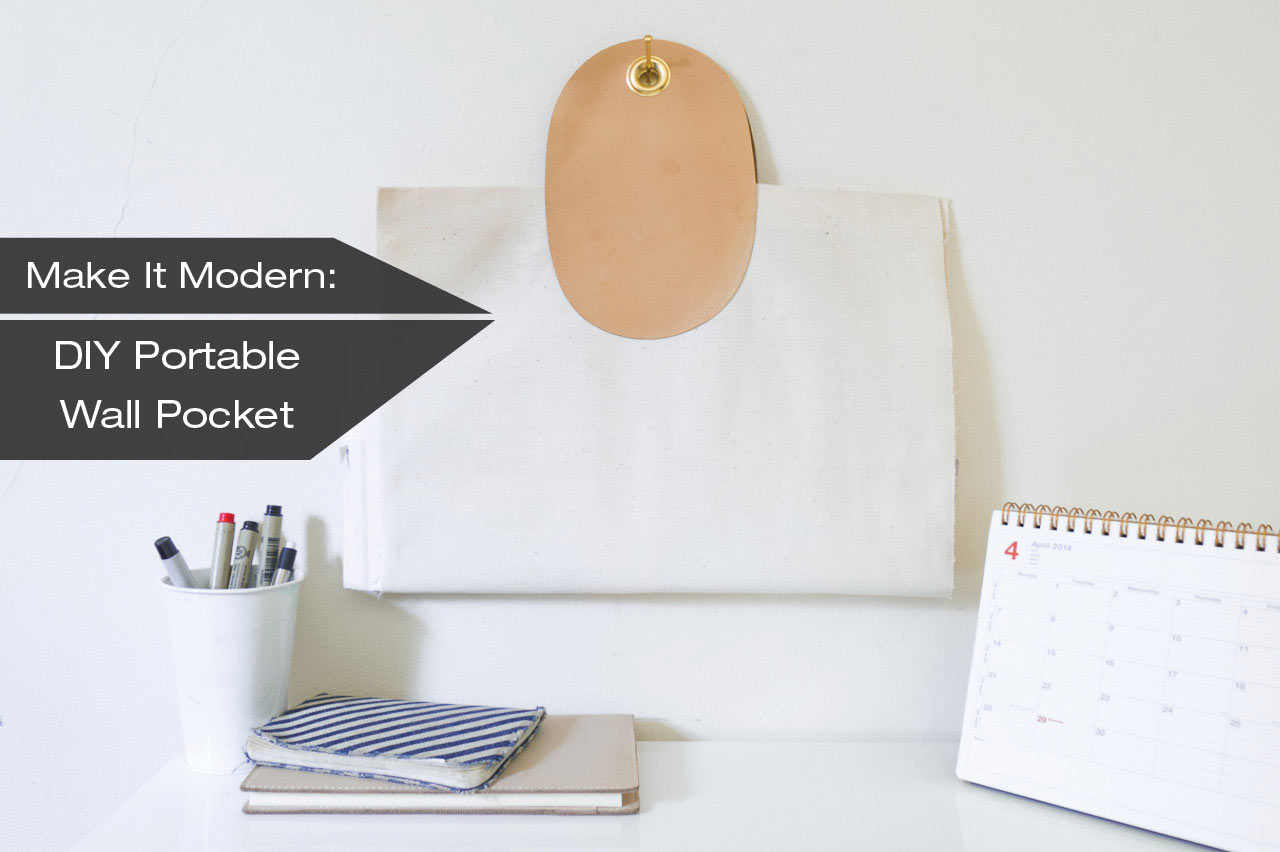
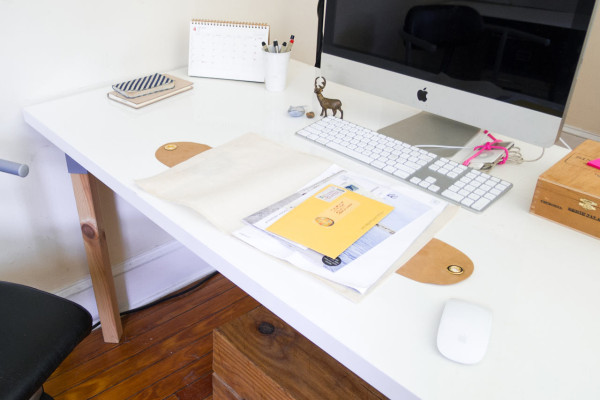
Once everything is completely dry, hang it up!

… And pull it down when it’s time to get to work.
The natural look and graphic shapes remind me a good bit of the contemporary design coming out of Melbourne and parts of Japan and Scandinavia – a happy accident, but it’s a great style. Of course, there’s plenty of room to play with colors and materials. Denim, waxed canvas, burlap, felt… or even try used Tyvek envelopes.
You can always stitch things up if you have a sewing machine available (and the skills to go with it – mine was broken, which was maybe for the better). For super-reinforcement, you can insert dowels into the folds at the top, but I like this just-slightly-slouchy look.