


Something about the new year really lends itself to organization. While I’ve been pacing myself through Apartment Therapy’s January Cure and kicking off my own wardrobe overhaul, I figured I should do something that’ll help out the whole house.
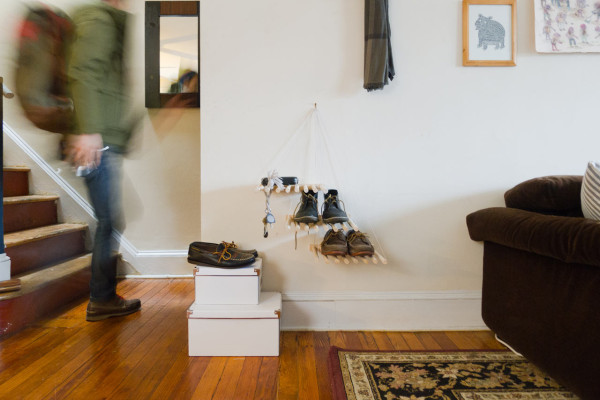
Our shoes tend to accumulate in and around the doorway, and then begin to sprinkle themselves through the living room — occasionally getting lost beneath furniture or stacks of pillows. I needed to come up with a solution to keep salty winter boots off the floor and in one place, that could double-task when the season turns warmer, when this shelving came to mind. An undulating dowel wall seemed a little too big of a project to fit on my plate… but a few staggered dowel shelves would totally do the trick.
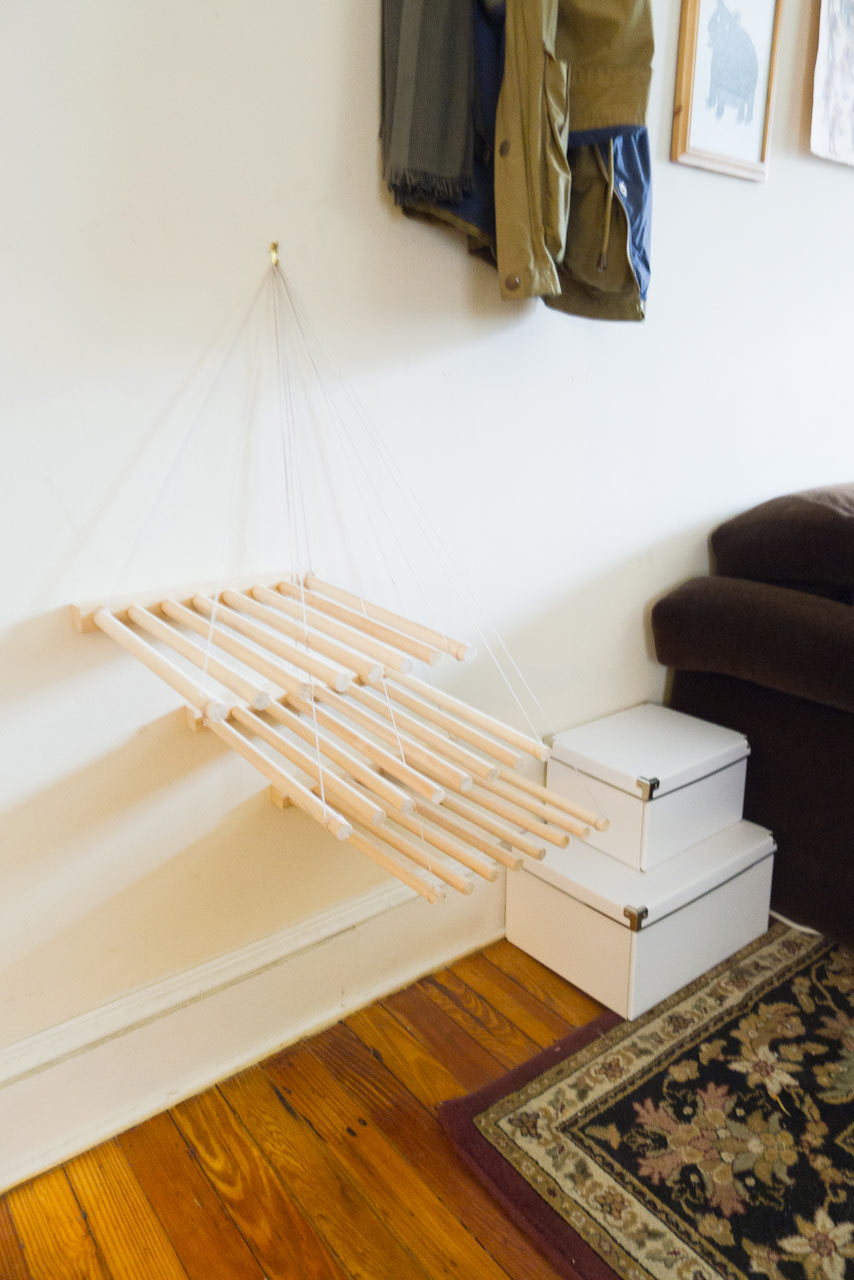
Once I finished the shelves and went to hang them, I was hesitant to screw them all into the fragile plaster walls of our rental. The solution? A single picture hook, a roll of string, and a little tape.
For three shelves, you’ll need:
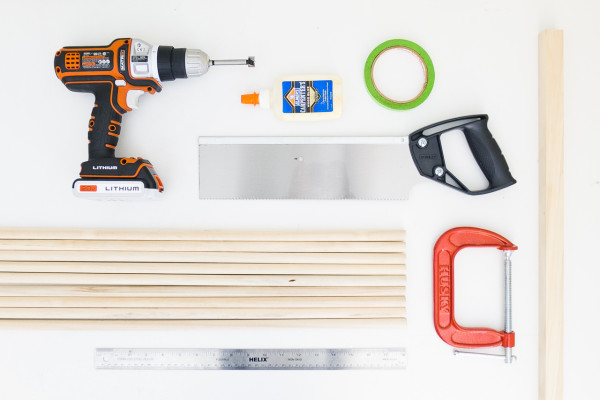
Supplies:
– six 48″L, 5/8″ diameter dowels (I used poplar but would recommend oak)
– one 36″L, 1″ square dowel
– powerdrill with 5/8″ drill bit (I used a forstner bit, but any 5/8″ bit will do the trick)
– wood saw
– a couple C-clamps or a miter box
– ruler and pencil
– masking tape
– wood glue
– rubber mallet (optional)
– string or twine
– double-stick tape (I used rolled-up foil tape since it was the strongest stuff I had)
– hanging hardware (depends on wall material)
Step 1:

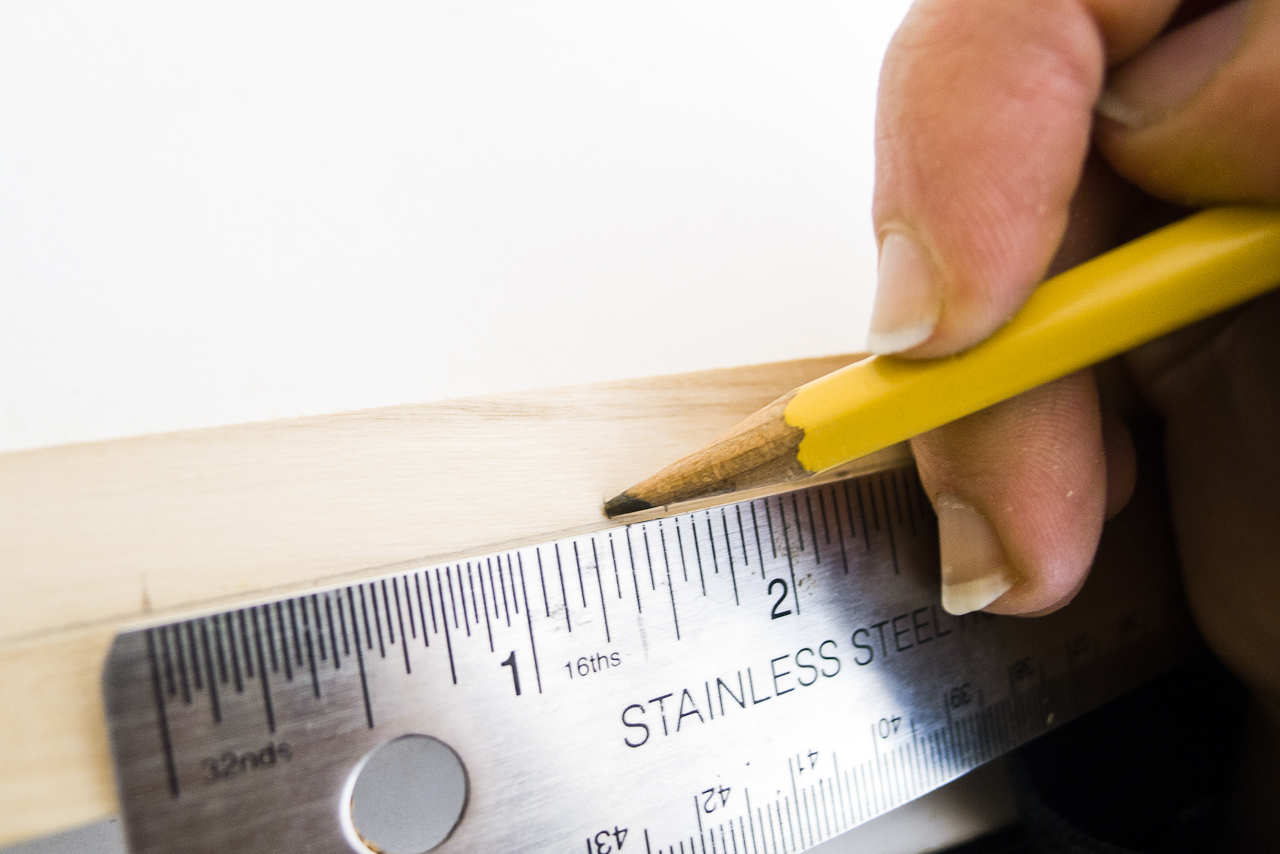
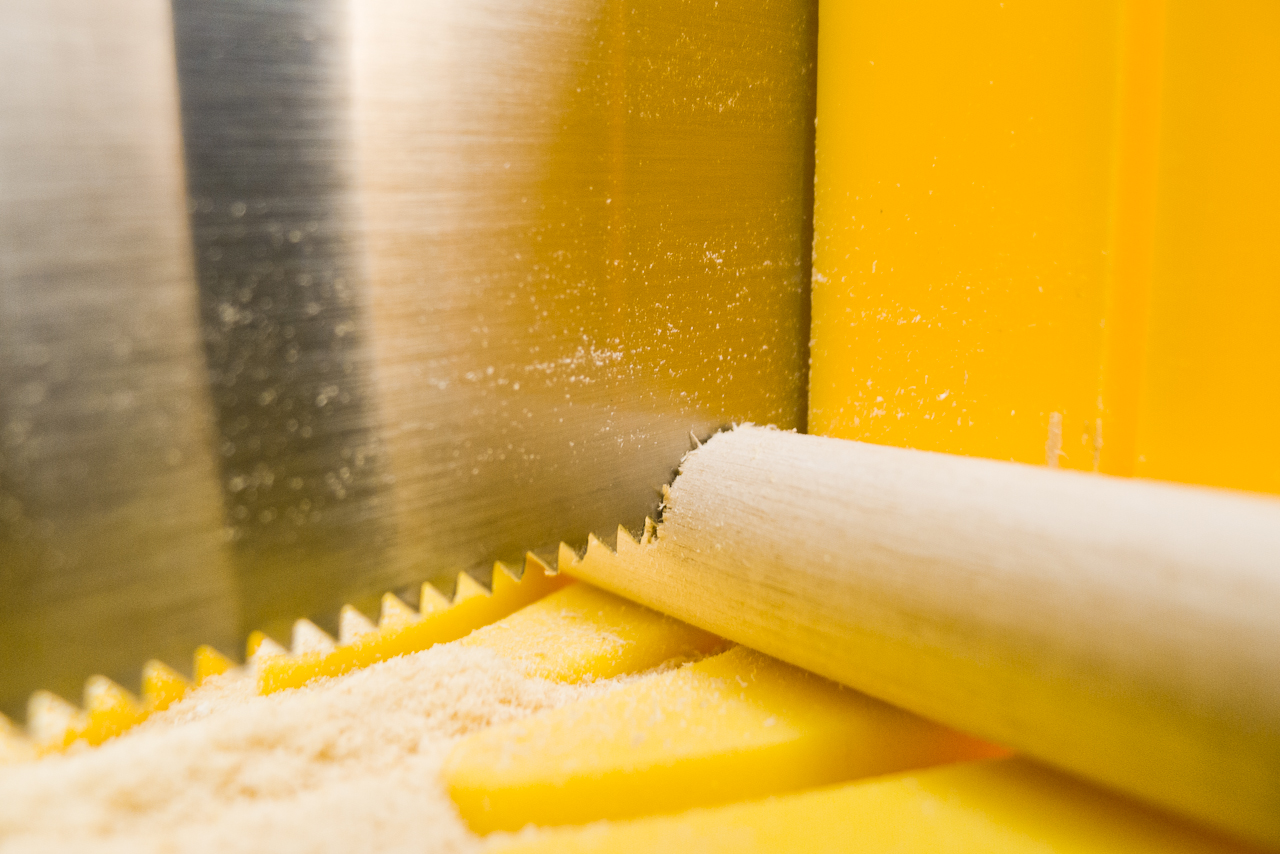
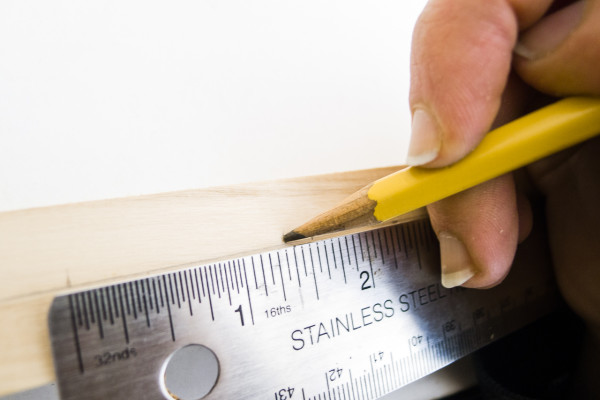
Cut your round dowels down into twenty-four 11.5″ lengths, and your square dowels into three 11″ lengths — measure, mark, clamp, and cut! I found it easiest to cut one dowel, and use that as a guide for cutting the rest.

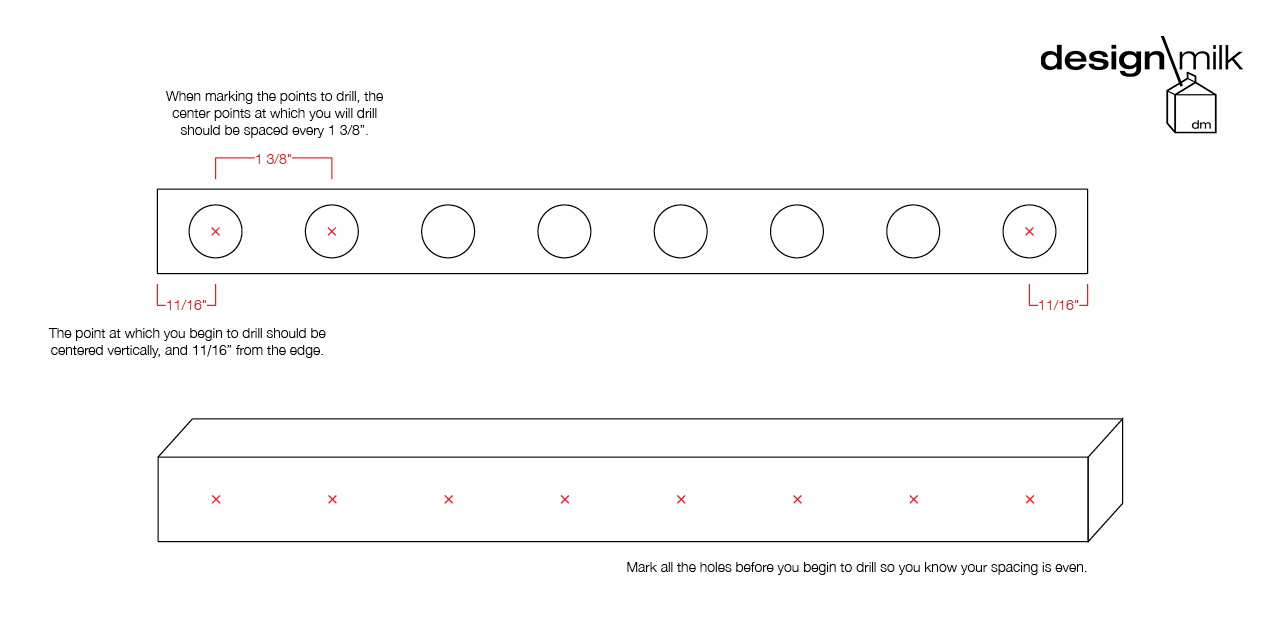
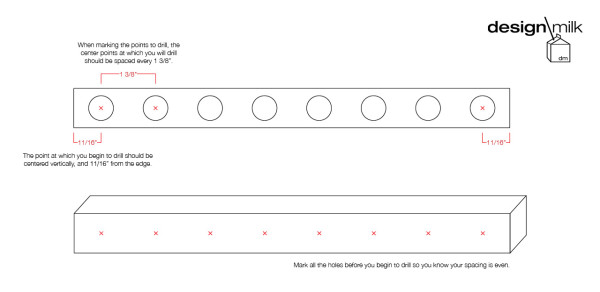
On each of the three square dowels, measure and mark 11/16″ in from the edge, and 1 3/8″ apart. This diagram is much more descriptive (click on the image to see a larger version):
Step 2:
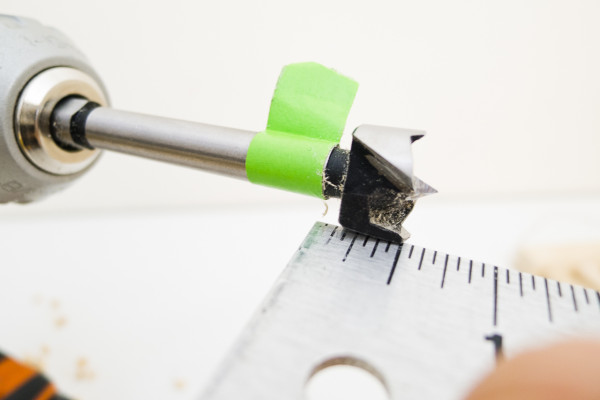
On your drill bit, measure 1/2″ up and mark with masking tape. Give it a quick whirl to make sure it’s even all the way around (…but really because it’s so satisfying).
With a square dowel clamped down tightly, center your drill above each mark and drill until the tape is level with the edge of the dowel.
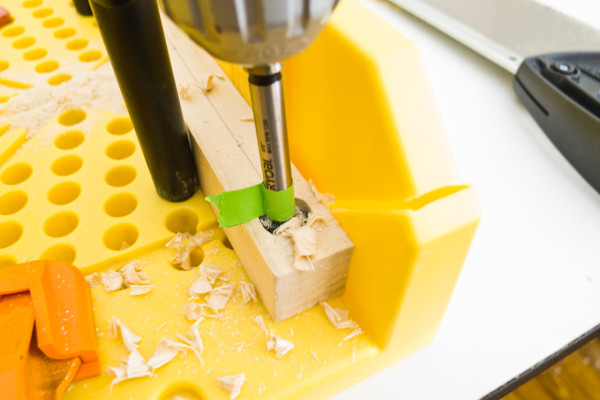
Continue until you’ve pre-drilled all of the holes you need — eight per dowel, twenty-four in all.
Step 3:
Since dowels and drill bits can actually vary slightly in size, check how your dowels fit into the holes. The space should be close, but worst case, you should be able to smack it in with a rubber mallet. If the dowel doesn’t quite fit, you can taper the end with a box cutter as if you were manually sharpening a pencil, or by scoring the dowel vertically along the last half-inch.
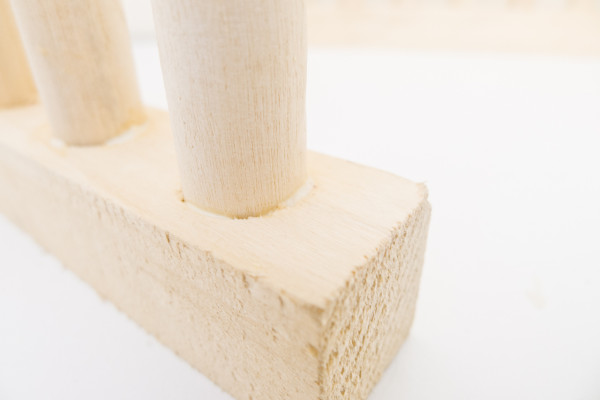
Coat the ends with wood glue and place each dowel, one at a time. Allow to dry as per the wood glue instructions (though overnight is probably best).
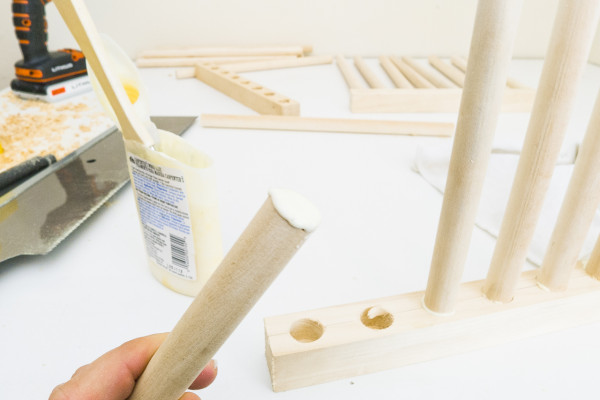
If you’re like me and didn’t put the cap back on your glue properly (and so your glue has started to dry in the tube) you can always cut open the top and brush it on in a pinch.
Step 4:

Attach the string to the “corner” of each shelf and adjust as needed. I used foil tape on the back of the shelves for a little added stability.
Tack-in your hanging hardware to the wall, hang the shelves, and adjust as needed!

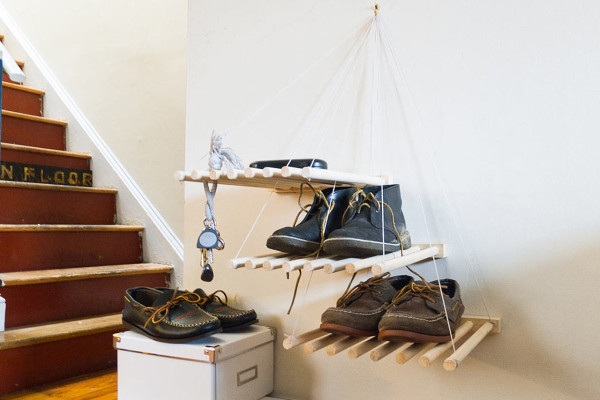
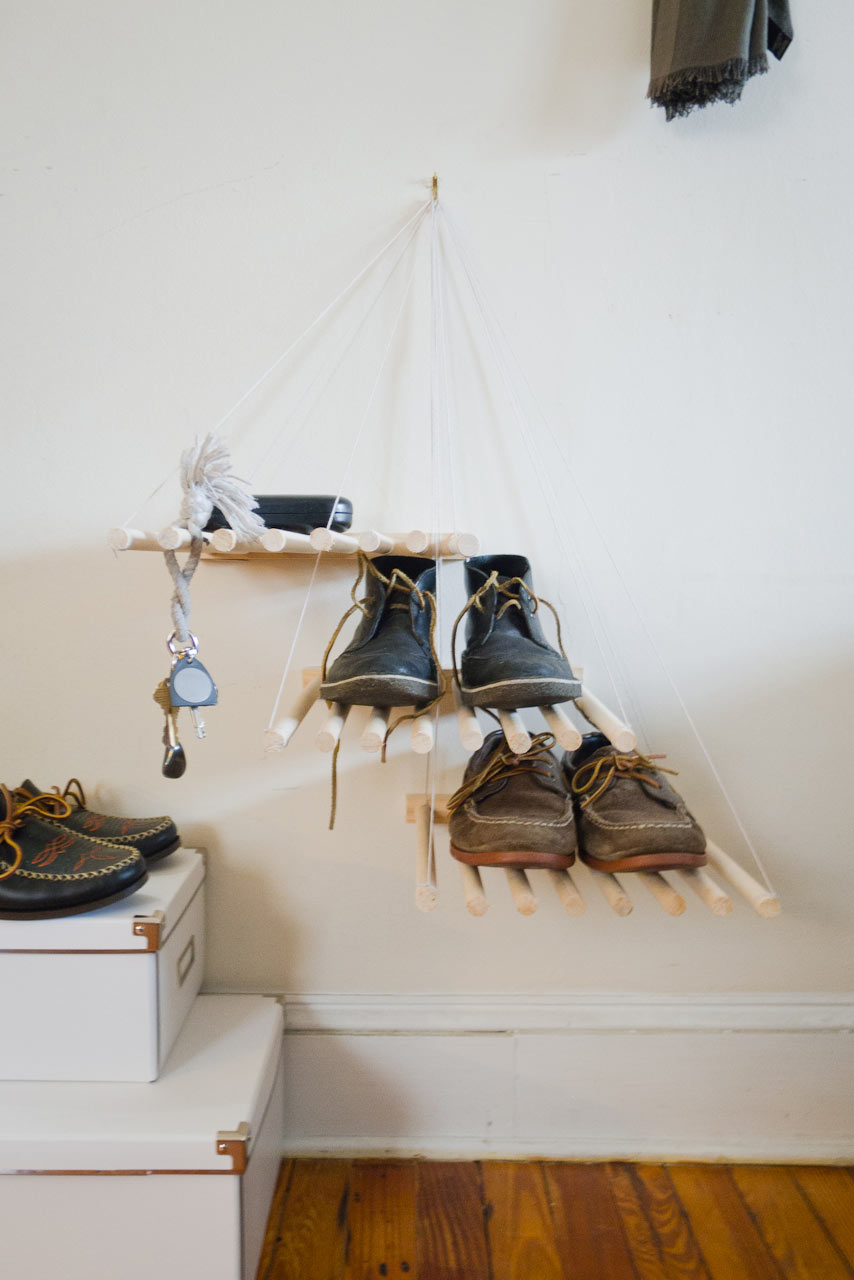
Since we have plaster walls, I hung ours from a single point, which ended up adding a cool vanishing-point perspective.
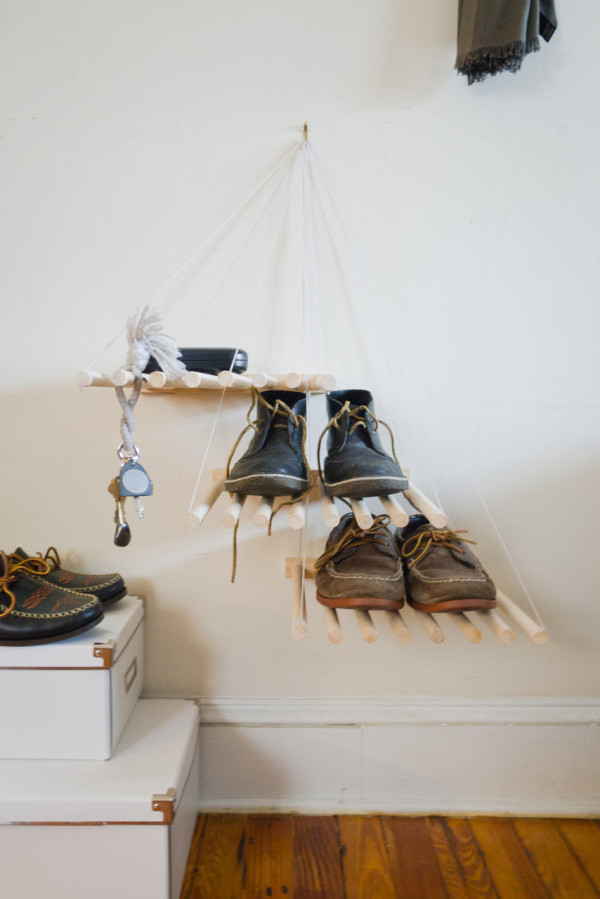
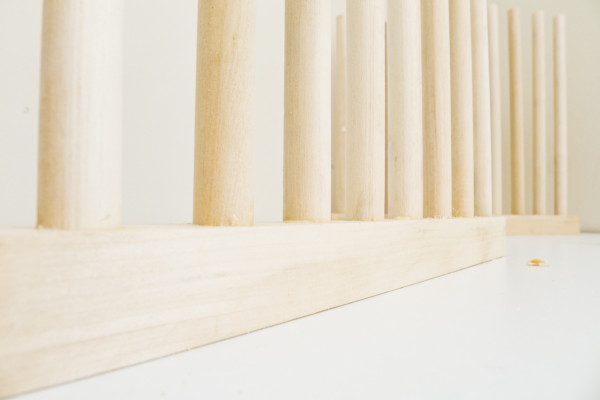
I staggered ours for a more layered look, but I’d love to play with them as the seasons move along. Because the edges are half the width as the space between the dowels, they can be lined up as one long shelf, or stacked one-over-another for a more solid impact. Right now, we’re using them for shoes, but the dowels are great for holding keys, jewelry, and scarves. You could hang them up high for hats or bike helmets, or cut the round dowels shorter for hanging coats. With the dowels spaced further apart, it’d make a nice-looking shoe tree.