I am pretty excited because we just installed the very last thing in the kitchen and, technically, it’s complete! What a relief. Now it’s time to get everything photographed so I can share it with you in all its glory. But before that happens, I wanted to show you our tile, which was installed a few weeks ago.
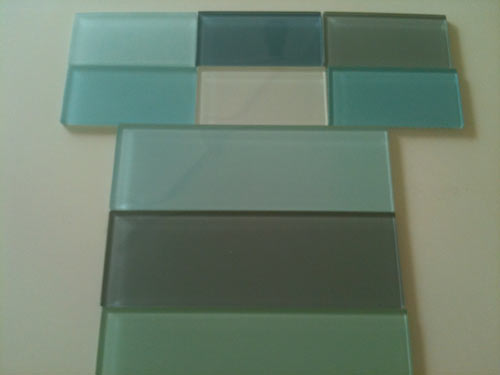
When we were deciding on a backsplash, I had a hard time with it because I wanted something that wasn’t too trendy or too boring that also fit nicely into our mid-century modern house. I thought glass tiles in a stacked pattern would be a great middle ground, so I contacted modwalls for some size and color samples (above).

It was an easy decision when it came to size — we quickly ruled out the 4″ x 12″; they were just too large, especially when it came to the small space underneath and on the left side of the window. So it was quickly settled that we would stack the 3″ x 6″ tiles, but in what color? We considered Cloud, Vapor (and Vapor Frosted), Breaker, Fog Bank, Surf and Rain, and even some combination of those colors (but I’m too much of a wimp). Ultimately we fell in love with Vapor — it wasn’t too green or too blue and had a hint of gray. It looks like the most beautiful ocean you can imagine.
Of course, they were out of stock (story of my life), so we waited patiently until they finally arrived. Modwalls was so great sending us installation instructions (and video!), grout recommendations — they even have a grout that matches the tile. We decided we wanted to highlight the grout lines so we went with a basic white.


We didn’t perform the installation ourselves because there were so many cuts and the tile needed to be lined up just right. And although we’re no strangers to installing tile, we decided that hiring a professional would ensure that the job was done right the first time. With all the tools we would have needed to rent or buy to do the job well, we probably would’ve spent the same amount of money anyway. The whole installation took about 2 1/2 days (also much faster than it would have taken the two of us).

Lining up that first few rows of tile and getting it just right is essential.

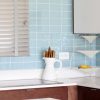
We had the entire window wall tiles as well as the wine/bar area. I can’t really show you the whole job otherwise I’d reveal the entire kitchen… So, without further ado, here’s a peek at the finished wall of tile:
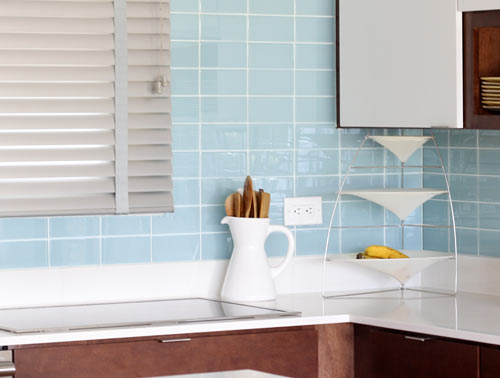
Looks pretty nice, huh? Not too shabby considering the before. And now you’ve also gotten a sneak peek at our cooktop! More about that soon…
See the entire kitchen project from the start here.
Special thanks to the following kitchen partners for donating product to the House Milk Kitchen Project: Electrolux ICON® \\\ Caesarstone \\\ Kohler \\\ modwalls \\\ Sherwin-Williams. Read more about our partners and the products we chose on our Kitchen Renovation Partners page.
