


San Francisco-based Colleen Mauer Designs delivers casual, handmade jewelry that explores textures, colors, and shapes. There’s a sophisticated simplicity that runs throughout the collection making the pieces perfect for everyday life. They’re the type of jewelry you’ll wear so much that it just becomes a part of you daily outfit. While the finished products might appear scaled back, the process of handcrafting each piece is quite labor intensive. Take a look as Mauer walks us through the steps of making her new Black & Gold mini inflect necklace in this month’s Deconstruction.
First, here’s what she says about the process of making this necklace:
When designing pieces of jewelry, the process isn’t always done in a routine way. In fact, I find that my best ideas come to me at the most inopportune times (like when I am behind the wheel or in the shower, where my sketchbook isn’t readily available). Nonetheless, many sketches quickly bring me to my bench where I like to start experimenting with materials. For it’s on the bench where the real magic happens – where my inspiration truly comes to life. I play a lot with proportion, especially with the Black & Gold Collection… and work the piece until it truly feels ready-to-wear. I know I’ve reached that final moment because my heart starts to race and I feel giddy like a school child. Design feeds my creative fire.
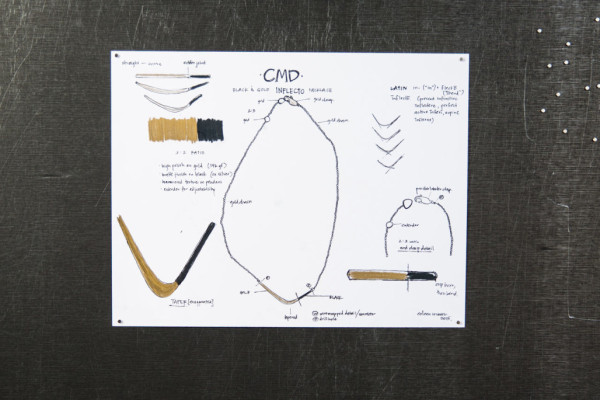
The design process starts on paper, but I often move to the bench as soon as possible to begin creating prototypes for each piece.
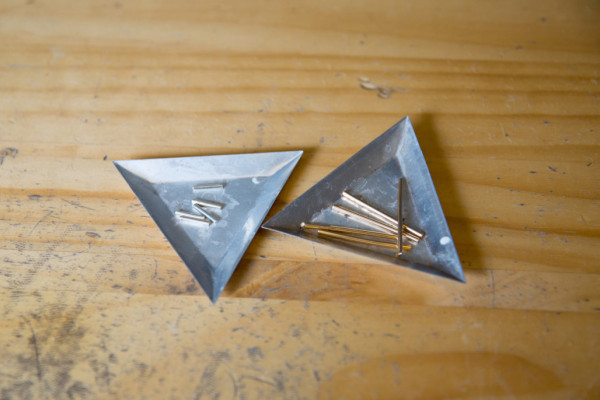
I start by hand cutting pieces of gold and silver wire, keeping the lengths uniform, as I normally make a grouping of 5-10 pieces at a time.
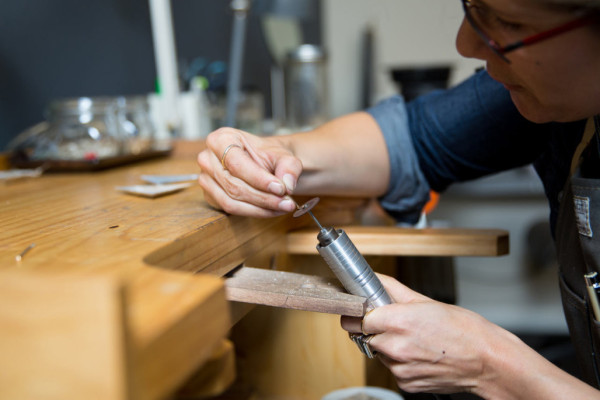
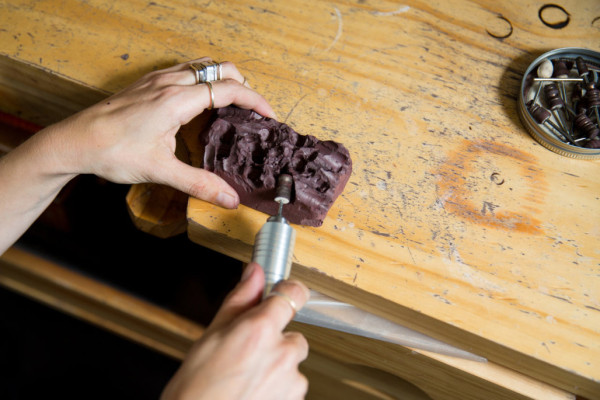
One side of each piece of wire is filed with a rotating disk on the flex shaft.
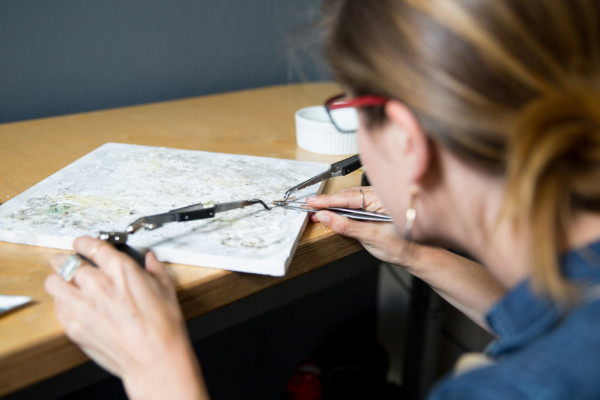
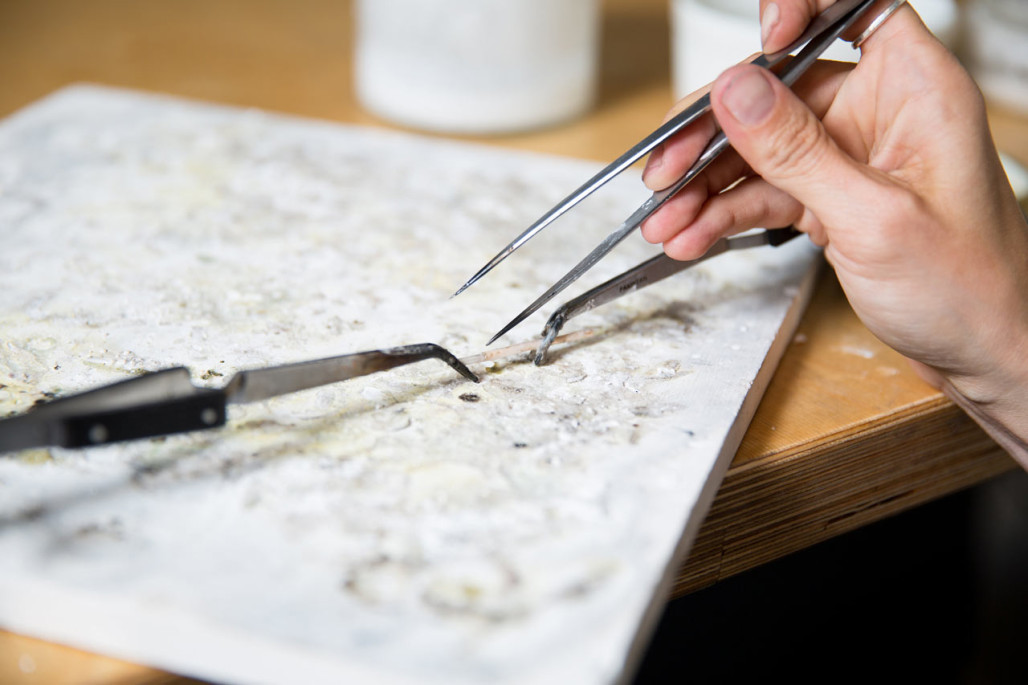
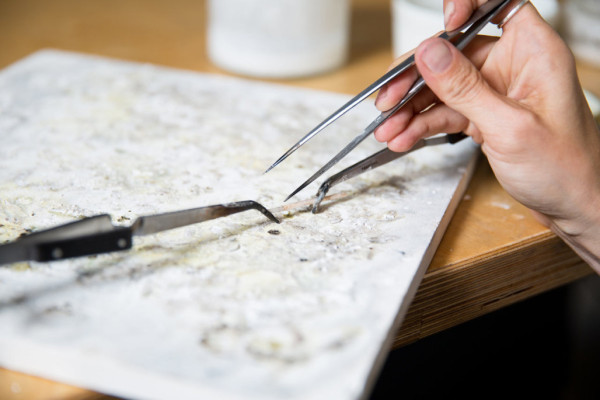
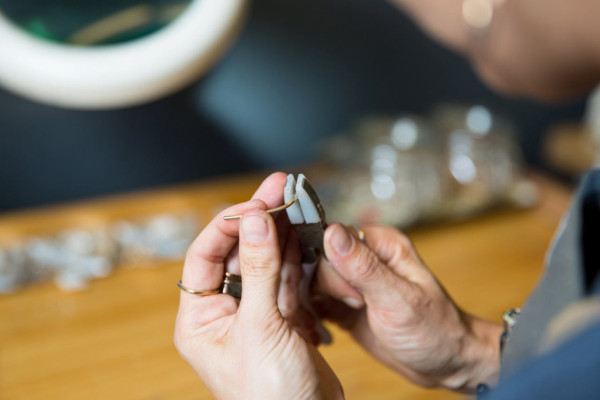
The filed ends of each piece are then set up on the soldering brick with third arms. The third arm is a workbench station of bases and tweezers that allows me to keep my hands free when working with the piece. I then line up each end perfectly using my tweezers and tension from the base of the third arm and the soldering brick.
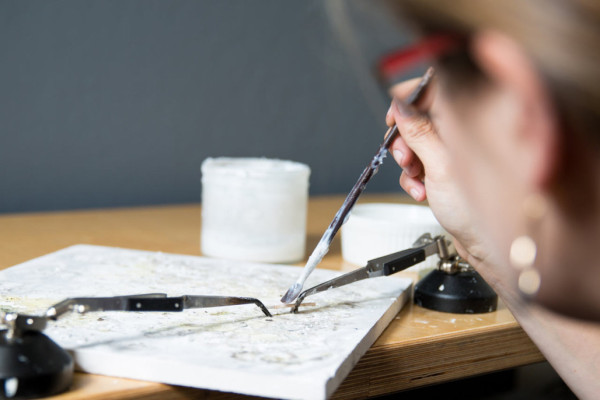
I flux the piece (the flux will help the solder to flow).
And then add my tiny solder chips.
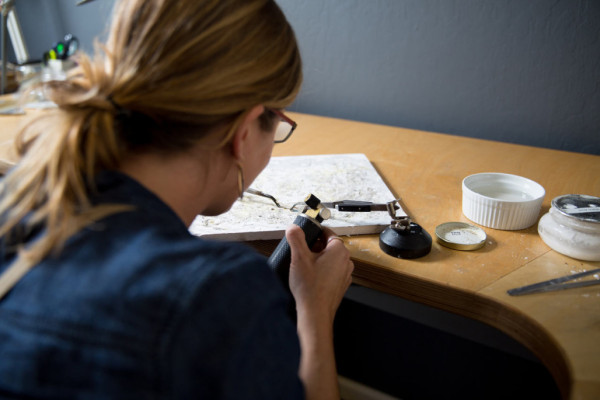
Next, heat is applied with my handy butane torch.
I carefully heat the entire piece until the solder flows and the connection is made. The two pieces of wire are now one piece. I put the piece into an acid bath (aka pickle) that helps to clean the firescale, which is a layer of oxides that forms on the surface of metal when heated.
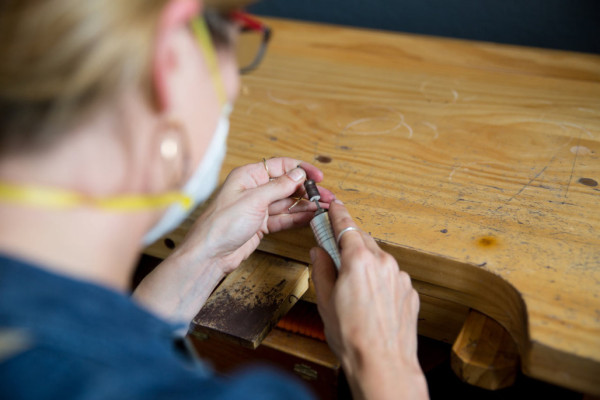
Once the piece comes out of the pickle, I cup burr the unfinished ends with my flex shaft, which essentially creates a domed, finished edge.
The pieces are now carefully bent to the designed shape.

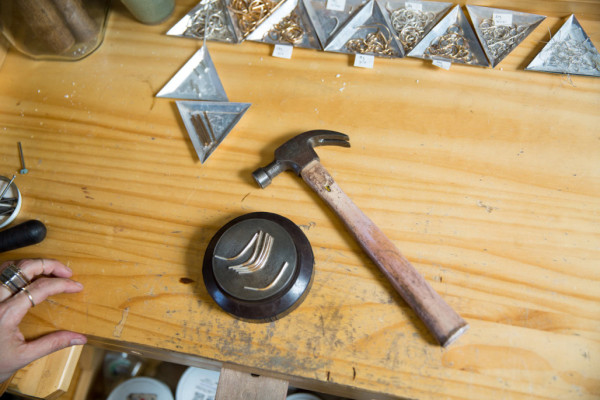
They are now ready for hammering.
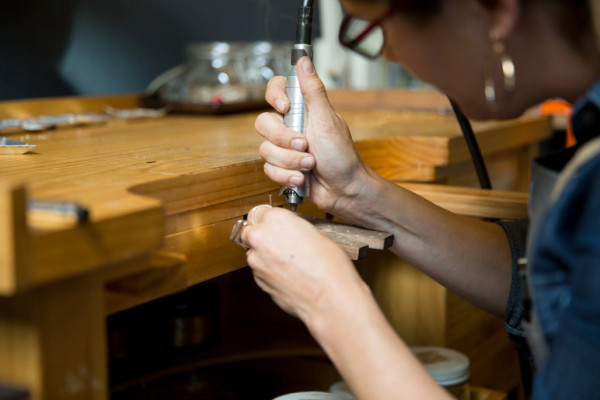
I then drill tiny holes into each end of the piece which will house the wire that will attach the piece to the chain in the finishing stages.

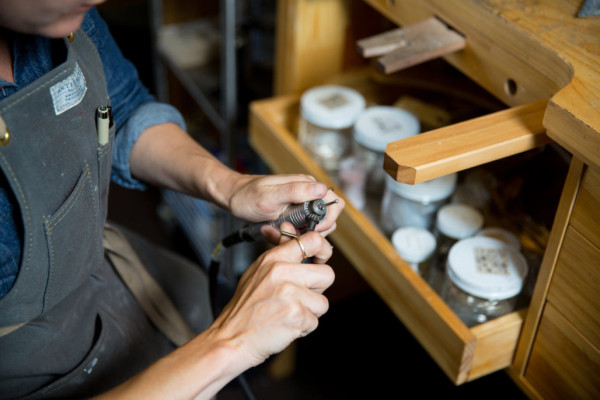
I then tumble the piece with a ceramic medium to prep the surface for oxidation.
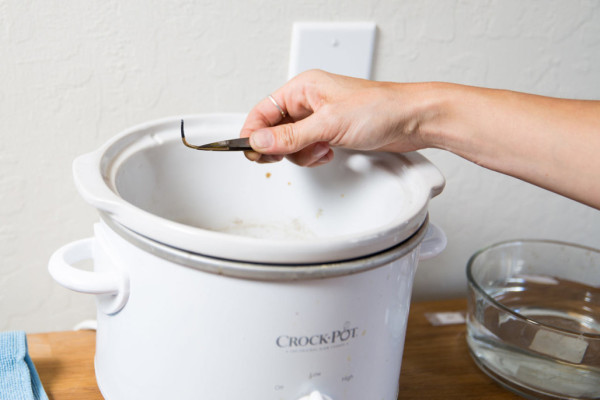
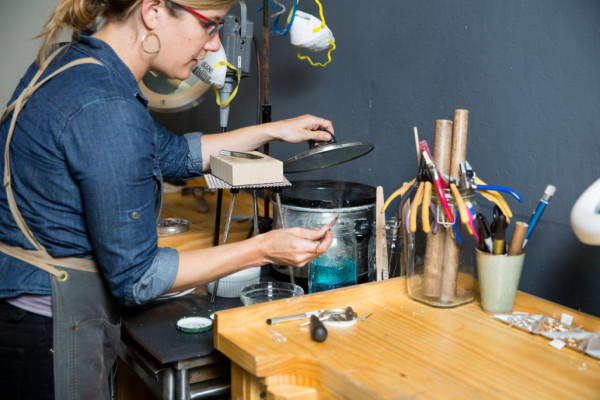
I put the pieces into a lukewarm bath of liver of sulphur, which we keep in a crock pot.
The liver of sulphur will oxidize, or make the silver part of the piece turn a black color.
Once the right level of “black” is achieved in the liver of sulphur, the pieces are carefully cleaned and ready for polishing.
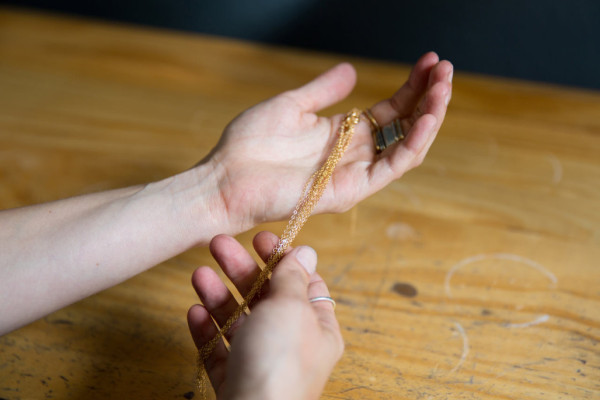
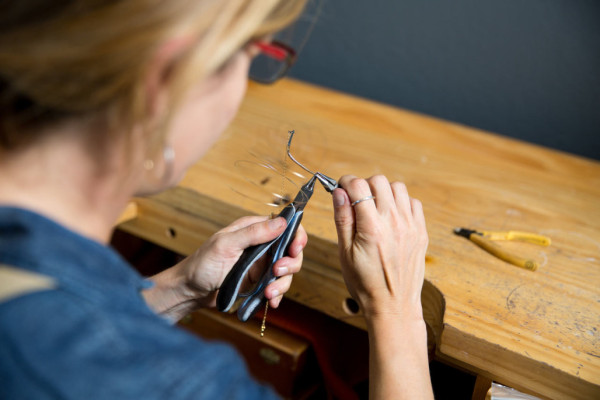
I am now ready to attach the chain with intricate wire wrapped details.


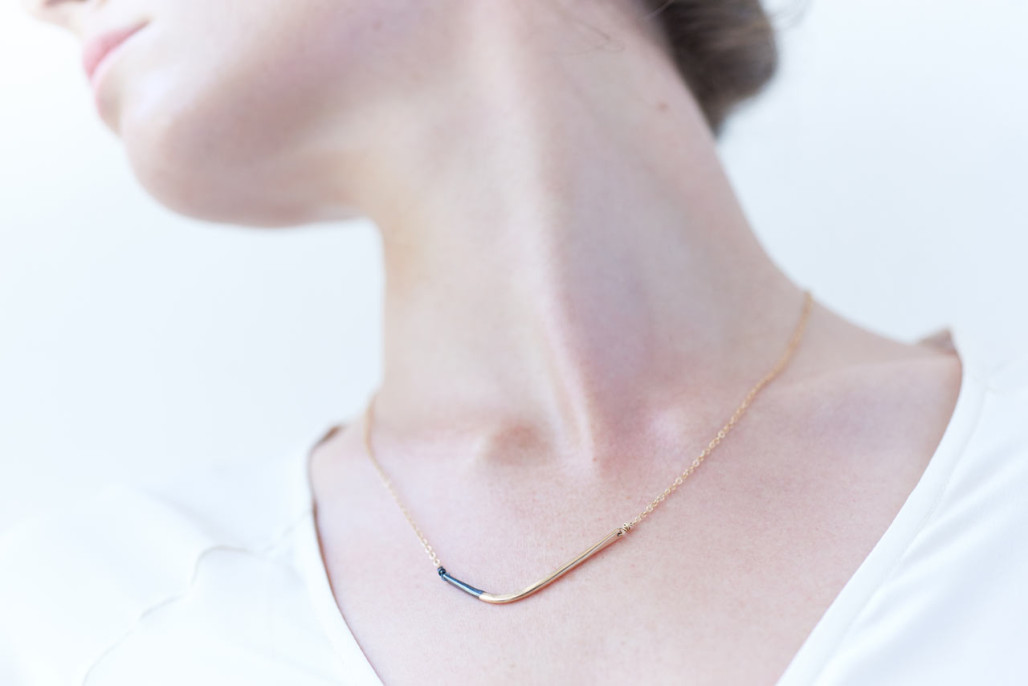
The pieces are now ready to wear.

Photos by Sarah Deragon.